
July 2015
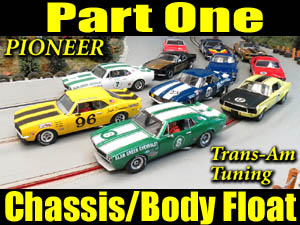
This series
of articles is about tuning the Pioneer Trans-Am
models. We are featuring the Camaro but these modifications will also
work on both versions of the
Mustang as the
chassis and interior design
are identical. We will start with basic chassis modifications and then
include more advanced options if you
decide you want to upgrade the
original running gear.
Introduction
Our first efforts will focus on
achieving good body to chassis float.
In a nutshell, this float is important as it reduces chatter (bouncing) in the corners and under hard acceleration.
Many times when the car comes from the factory with the screws tightened, it can cause some slight chassis warping. Even the slightest amount of flash molding on the body posts or chassis can effect the way your chassis sits. If it is sitting unevenly with one ore more tires not making contact with the track, this really degrades operation.
Having the screws too tight also allows the body to absorb excess vibration.
Pioneer models are a little more advanced than some other brands as they have smooth shoulder screws installed.
These smoother shoulders allow you to back the screws off and there are no threads that might catch on the chassis, preventing the desired effect.
This works only if the body and chassis are independant from one another.
If the chassis or body is rubbing or binding against each otherm then just lossening the screws will not result in the desired amount of true float.
And such is the case with these models. Both the Camaro and Mustang are hindered from desired float due to excess pressure/contact. From the chassis edges to the interior tray, there are areas that need some work. Although it appears to be a major project, it really isn't. You can perorm this modification in about an hour or less. Even if you are keeping the stock running gear, this modification does help improve overall operation.
NOTES:
1. I do not lower the body. I have no reason to sacrifice scale appearance for any increase in performance.
2. Full interior will be preserved.
3. The chassis modification alone will improve the model's handling even if you do not perform any other tuning applications.
1. I do not lower the body. I have no reason to sacrifice scale appearance for any increase in performance.
2. Full interior will be preserved.
3. The chassis modification alone will improve the model's handling even if you do not perform any other tuning applications.
Tools

The
tools I use in the photo above are all you need to get the job done.
You will also want some sandpaper if you want to clean your areas up
and make them appear a little cleaner. Lighter grit sandpaper is also
my choice in sanding the body post surface.

I
use 800 grit automotive sandpaper by 3M a fair amount in my tuning. You
can buy it individually or it also comes in the variety packs.
You need to remove the body from the chassis and all running gear components. Once removed tyou are ready to begin.
Preparations
You need to remove the body from the chassis and all running gear components. Once removed tyou are ready to begin.
Chassis
Radiusing
Sanding
of the chassis is a very simple process. I call this "radiusing" the
chassis. You are simply sanding the outer edges of the
chassis until it can be mounted into the body without obstruction.

Here
is a video of the process.
Having
the body on hand to test as you go is always a good idea. You will
notice on the rear that I do not cut into the "fuel tank". I sand just
flush of it and it fits cleanly.
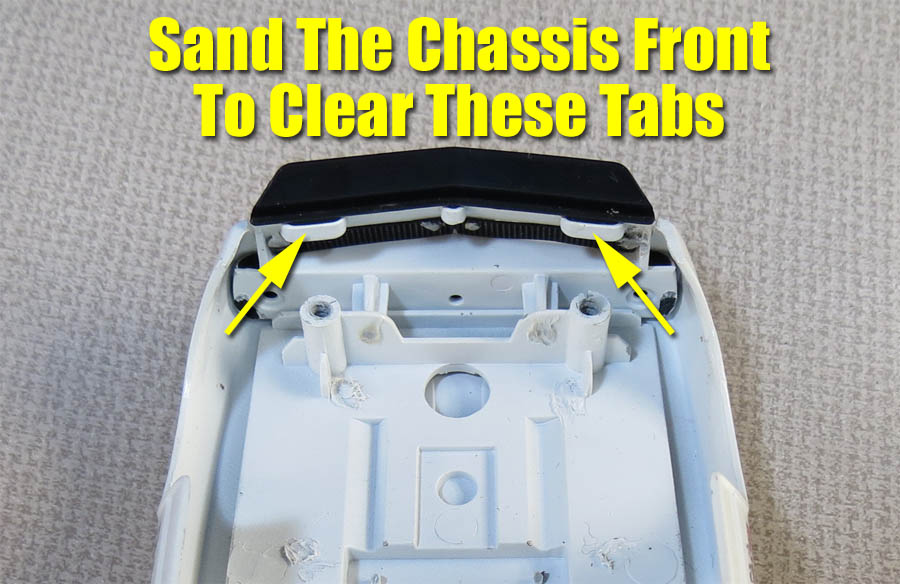

When
you shape the front, make sure you clear the 2 spoiler mount tabs. The
chassis originally slips under them and this can interfer with your
float.

You
have enough clearance to sand the chassis and still not harm the body
mount posts.
Chassis
Body Mount Posts
The
mounting posts on the chassis sometimes are in need of a quick clean
up. There is usually some slight flash molding that needs to be removed
from the tops of the posts. If left exposed, it can cause the body not
to sit properly and also is another factor in preventing the body to
float cleanly on the chassis.
Below
is a video of how I clean this and slightly enlarge the mounting holes.
To
make sure the chassis
does not bind when you install the screws, I enlarge these holes
slightly.

As we discussed earlier, the screws in Pioneer
models come with a smooth shoulder that really
helps you achieve float but only if they do not have excess pressure on
them. Slightly enlarging these holes goes a long way in making sure
they are not binding.
Interior Sanding
Another
important part of eliminating the body to chassis
contact is the interior. Although we all like a well detailed slot car,
the full interior in these models can interfere with achieving good
body float. The issue is the 2 reinforcment ribs that run the length of
the interior and the 2 mounting holes that used to be for securing the
interior to the chassis.

Out
of the box these mounting holes might be an issue. If the lead wires
are not routed properly, they can get caught in between the chassis and
interior as shown above. Since we do not use screws here anymore it is
highly advised to sand this material away.

Above
is the stock interior with the areas than need sanding highlighted.
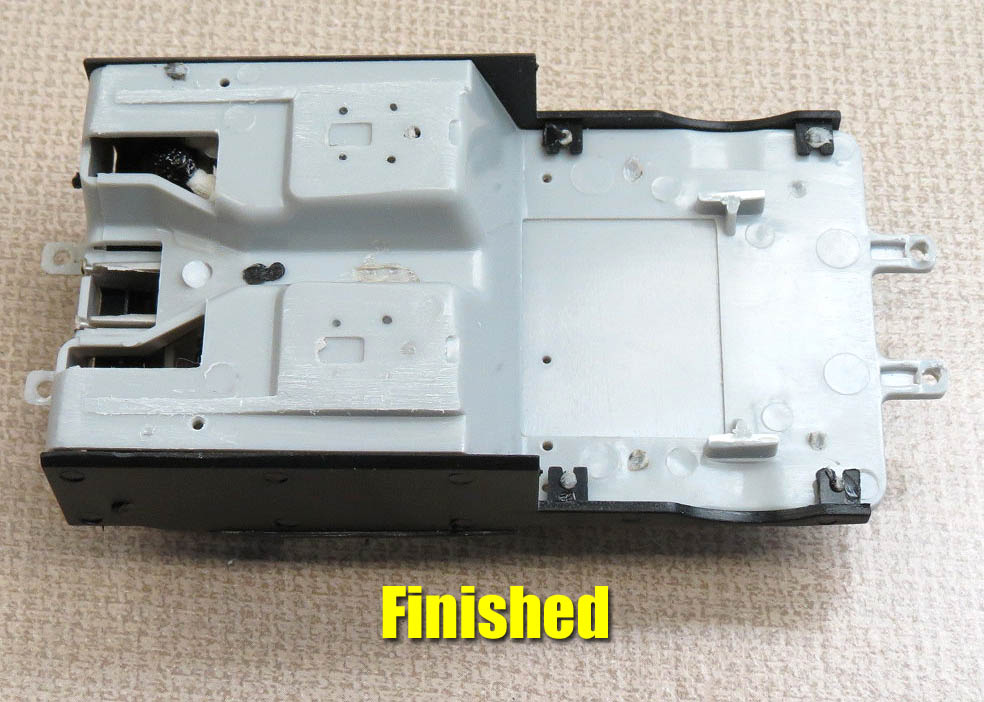
Now
you can see the finished interior and notice the areas I sanded.
Hopefully these photos and accompying video explain it clearly.
Body
Post Clean Up
Another
small but important item are the body posts themselves. The tops of
these posts sometimes have excess flash molding and/or paint that
causes the body to stick to the chassis mounts or in extreme case
causes the body to sit unevenly.

The above photo hopefully
shows you the goal. All you are doing is simply cleaning the top of the
post to make sure it is free of excess flash molding or paint.
Although
this next step is not really related to body float, since you have the
body off it's a quick task to accomplish.

Using
the same 800 grit sandpaper, you want to make a few passes on the
INSIDE of the fender wells. In a few cases I have noticed some very
fine flash molding. This can cause slight contact between the body and
tire depending on your setup. I usually just sand until the paint is
cleaned away and that indicates a clean area.
Summary
This
is one of those tuning sessions where numerous small things combined
equal a large improvement in performance. Something else to considor: Changing to aftermarket parts in
the running gear ALONE isn't going to work any magic.
Ignoring these steps will still leave your car too tight and you won't
see those performance results you were hoping for. The added
appeal is that this tuning has no added cost.

I hope this article
helps you improve the overall performance of your models. A smoother
running slot car is always more fun to race in my opinion and the
satisfaction you get from tuning them just adds to that fun factor.
In our next series we will discuss other performance enhancements so stay tuned.
-Harry
Copyright © 2015 HomeRacingWorld.com All Rights Reserved
In our next series we will discuss other performance enhancements so stay tuned.
-Harry
Feel
free to contact
me anytime about this review or just our hobby in general.
Copyright © 2015 HomeRacingWorld.com All Rights Reserved