
After some major water damage it was time to rebuild. It has now going on 4 1/2 years and still racing strong as it should. Thought it might help some of you thinking of building your own.

First is an intro video discussing the old track.
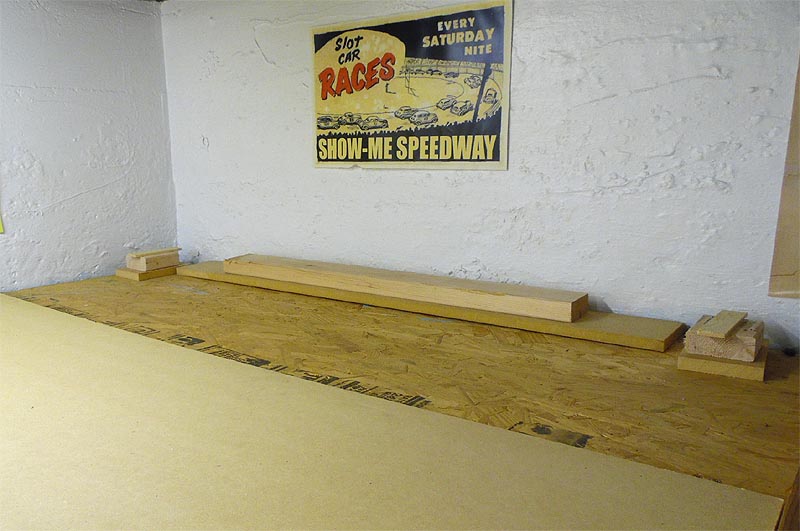
Materials/Tools
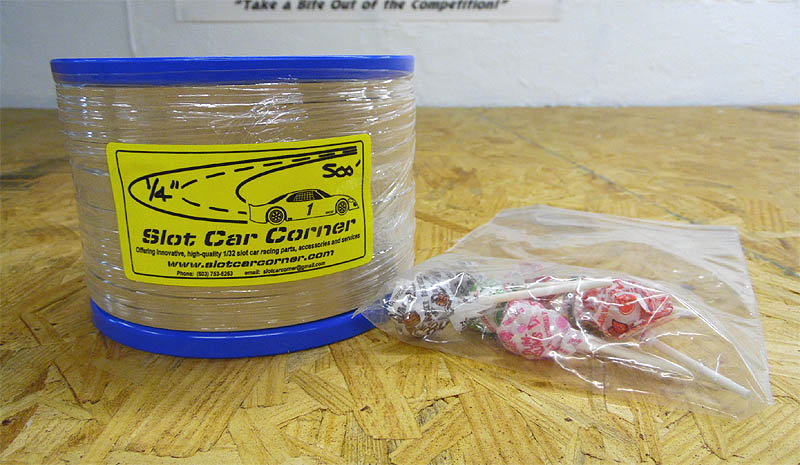
Here are some links to the tools I used. Slot Car Corner has helped many enthusiasts build their first wood tracks and they are easily my first recommendation to YOU.
1/8″ Router Bit – LINK
Gain Bit – LINK
This is if you go braid which I highly advise if you are SURE of your track design. Otherwise you can skip the braiding and use copper tape.
1/4″ Pre-Taped Braid – LINK
It is MUCH easier to have the braid pre-taped. Well worth the extra expense. The time it saved me alone was worth it all and then some.
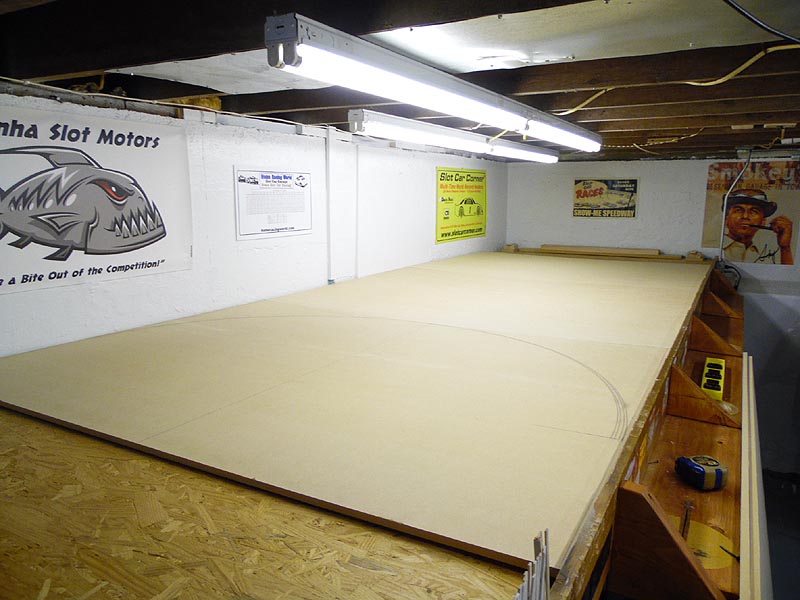
1/2″ MDF (Medium Density Fiberboard) Your local Home Center.
Assorted Paints For Track Surface and Lane Colors (if needed)
Plexiglass Strip For Radius Gauge – Check your local Auto Glass shop.

You are going to need the common tools to construct your own table. Then you will need a router of course.
You do NOT need a high end, expensive router to build a slot car track.

The router on the left is what I purchased. I needed to route indoors for this project and the vacuum port for the Shop Vac is PRICELESS. It is a Performax brand found at Menard’s.


You will need to mark and drill the holes for mounting to your router. Very easy. Use a hole saw bit for the center.

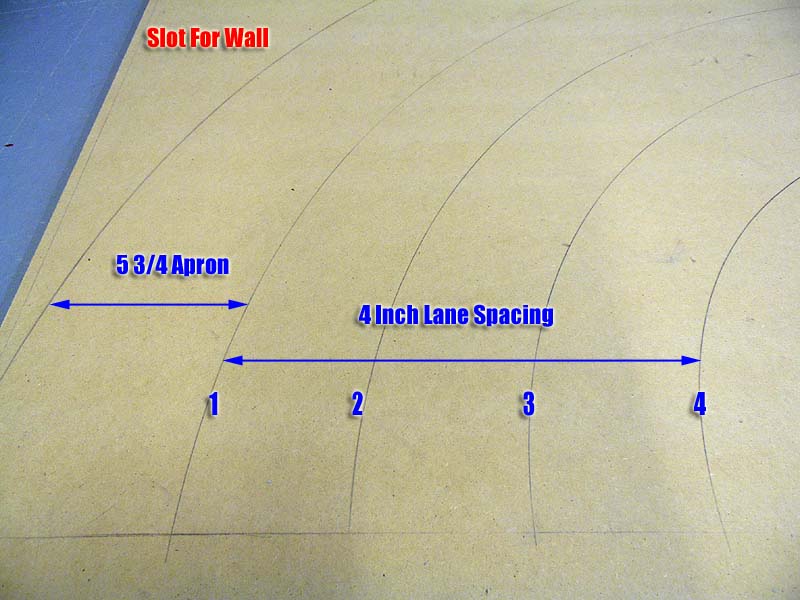
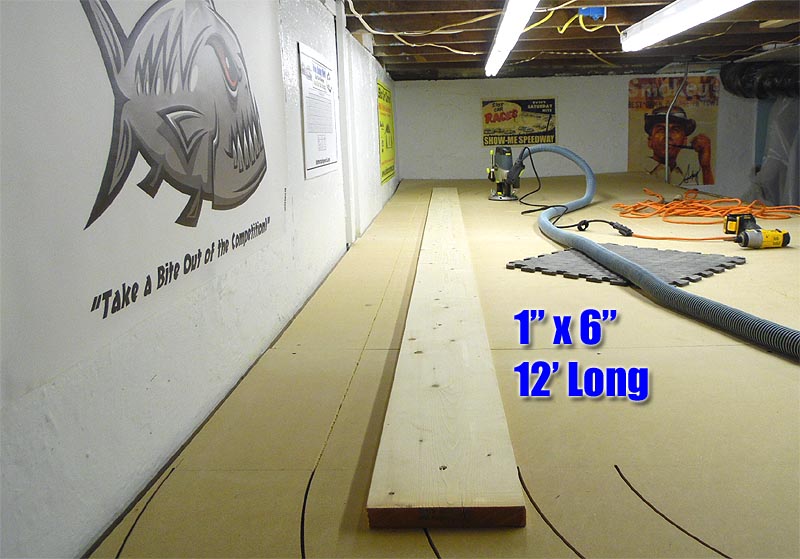
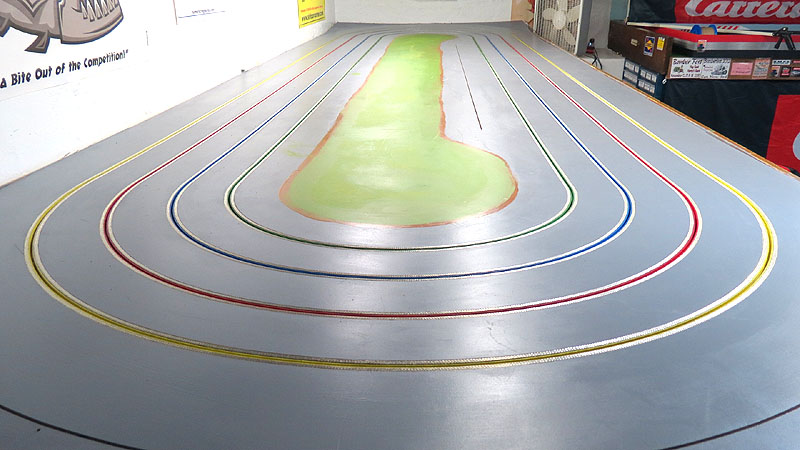
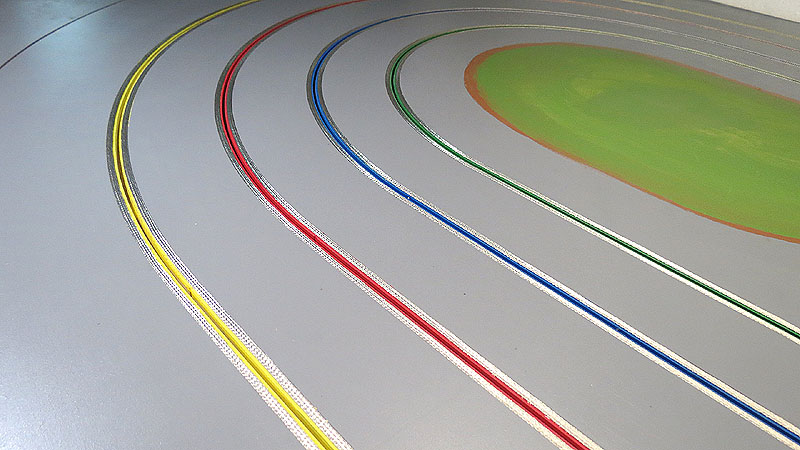
Remember this is for our OVAL. Routing a road course will require different sizes and/or strips.

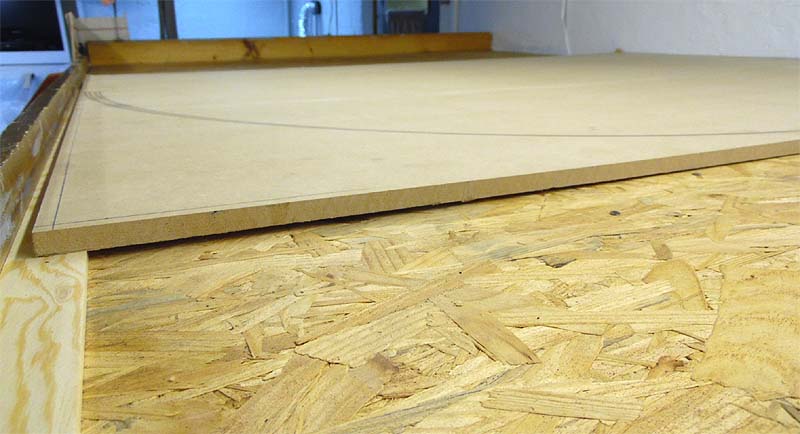
I mark off a 3/8″ wide outer cushion. There is an extra slot being routed on the outside that will be used to mount our wall. I need at least 3/8″ to give it strength at the very edges.
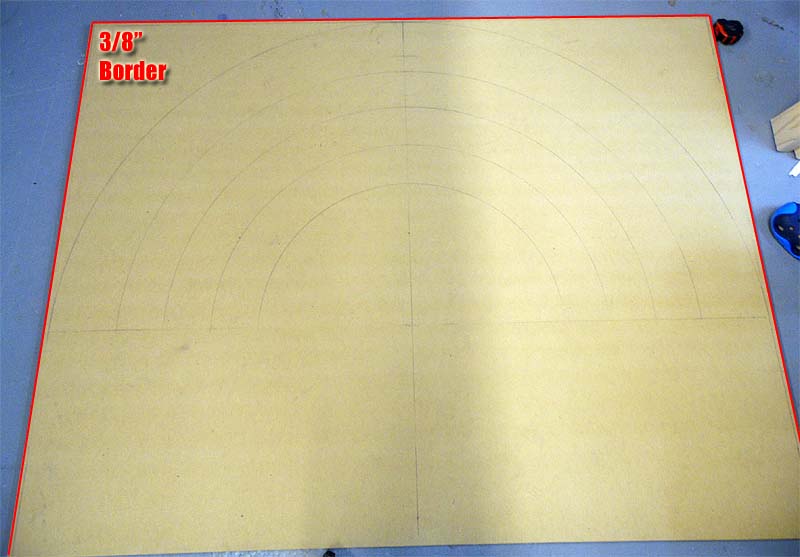
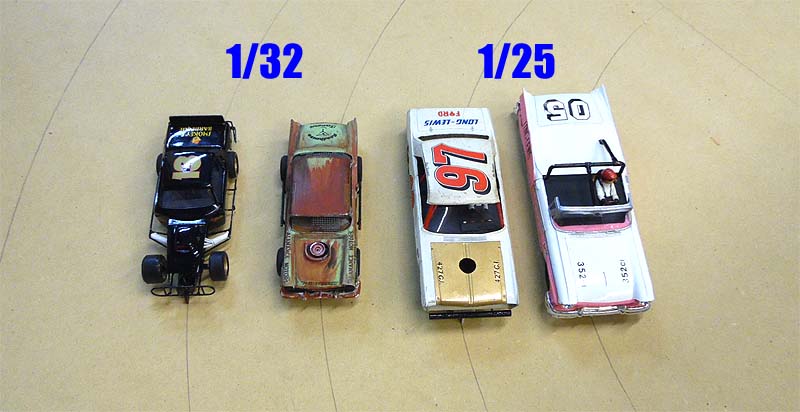
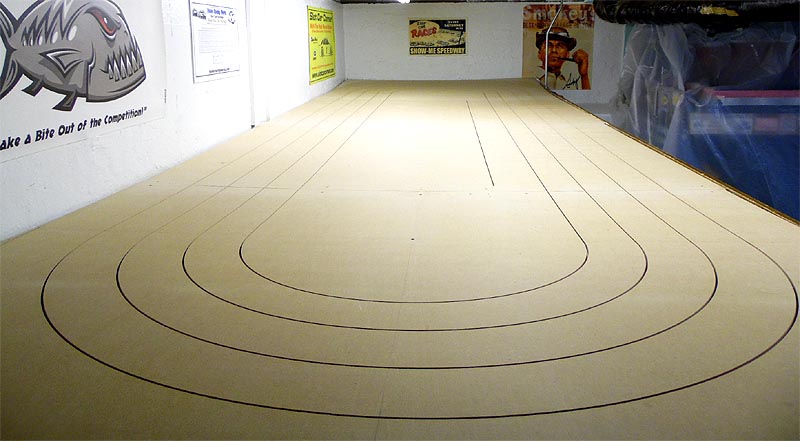
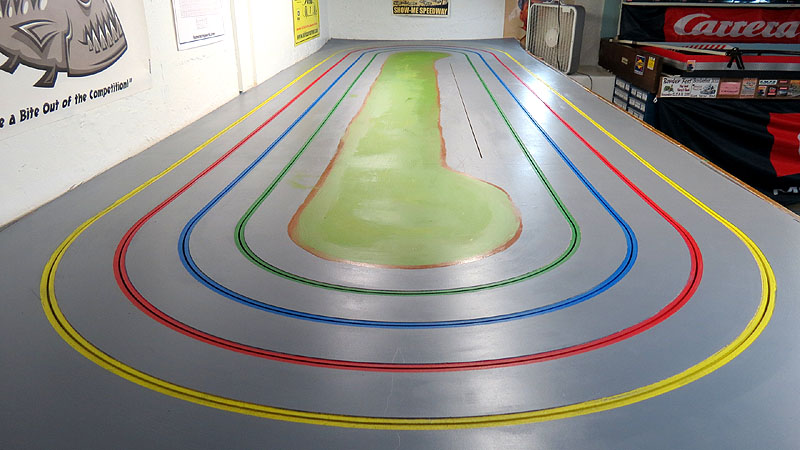
Various stages of track design. I went with 4 inch lane spacing to have room for the 1/25th scale models we enjoy.
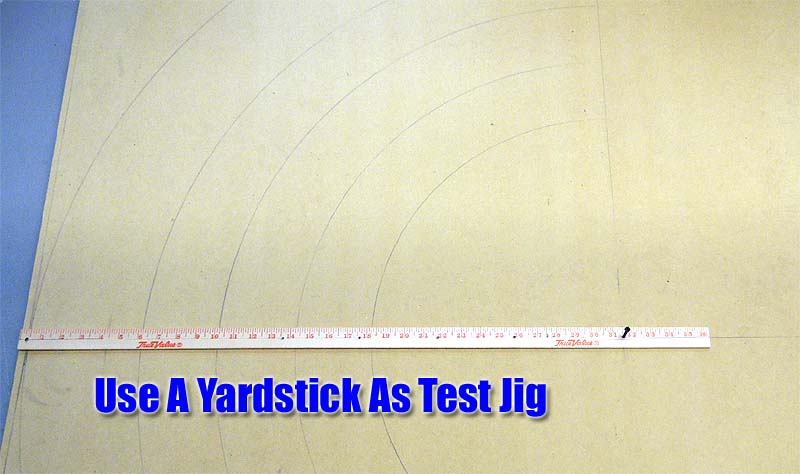
A yardstick a cheap and easy way to test your lane design. Mistake? Erase it and try again.
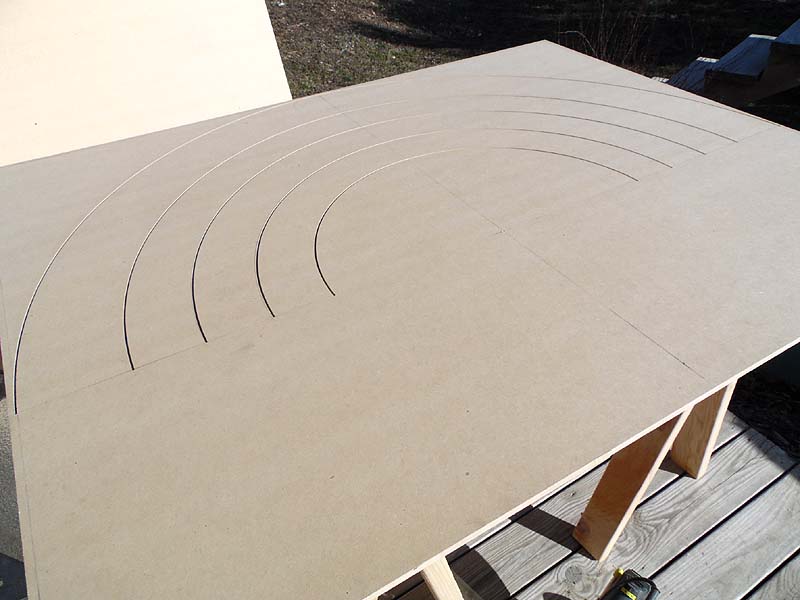
Example of one end routed.
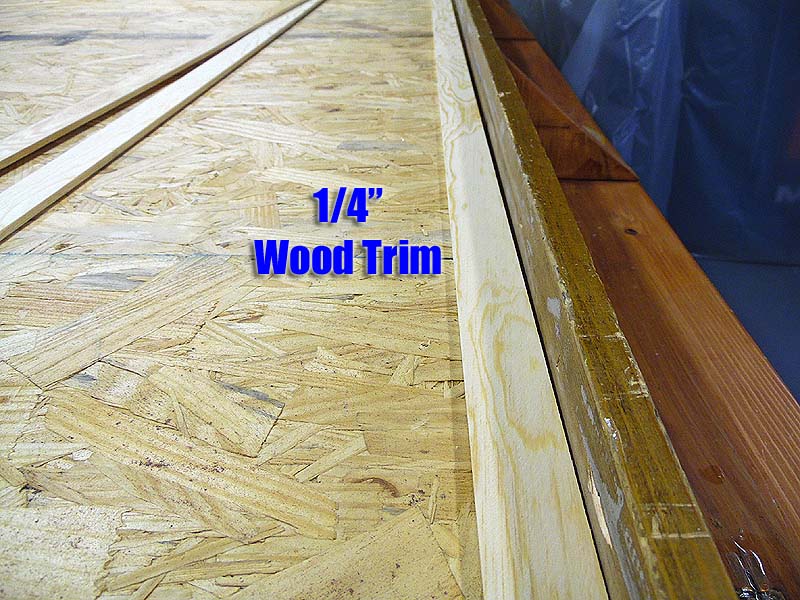
To create a slight angle in the straights for effect, I used simple wood wall trim. I stacked 2 of them to create the effect I was after.

To finish the effect I mounted screws in the center. This easily bowed the track just enough. Remember, 1/2″ MDF will bend more than you think without any need for undercutting.
A couple videos on hiding your screws and seams.
Adding some banking for the corners.
To create a very slight banked turn, just stack some wood blocks. I made the corners just slightly higher and it turned out perfect.
Routing the straights. Use a good board for a “fence” to hold the router against.
Repair/Clean Up Videos
Just some methods for repair if needed.

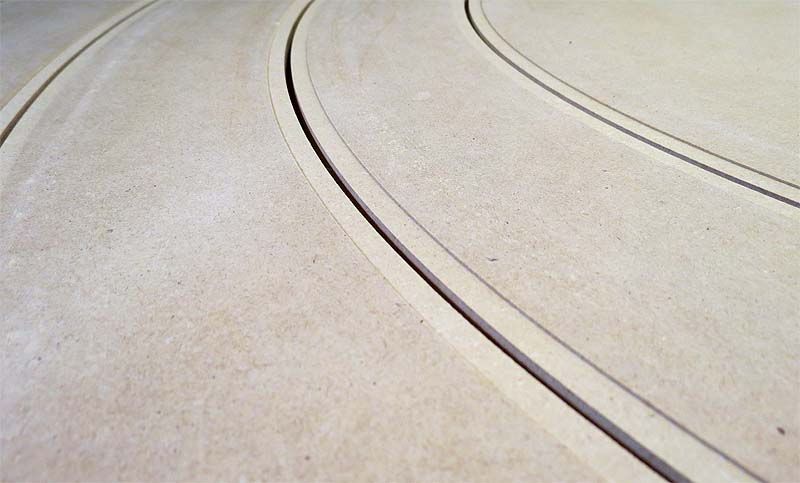
Routing completed.
Routing Gains
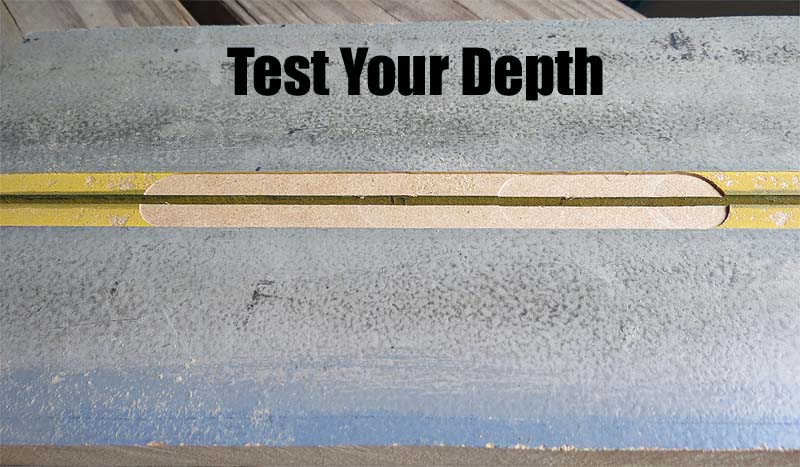
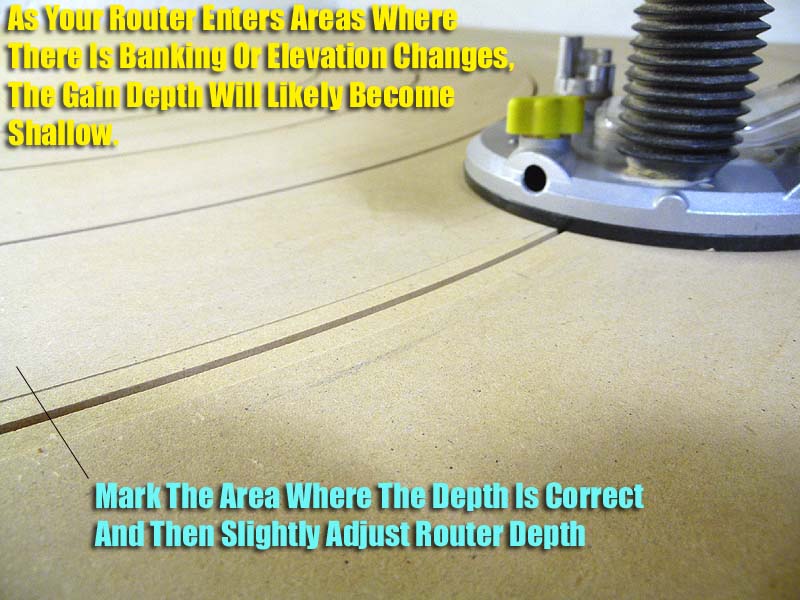
Routing your gains is an easy task, but you need to take your time and TEST your depth. Too shallow of a run is an easy fix, but too deep and it’s all over.
I prefer my braid depth to be as flush with the surface as possible.
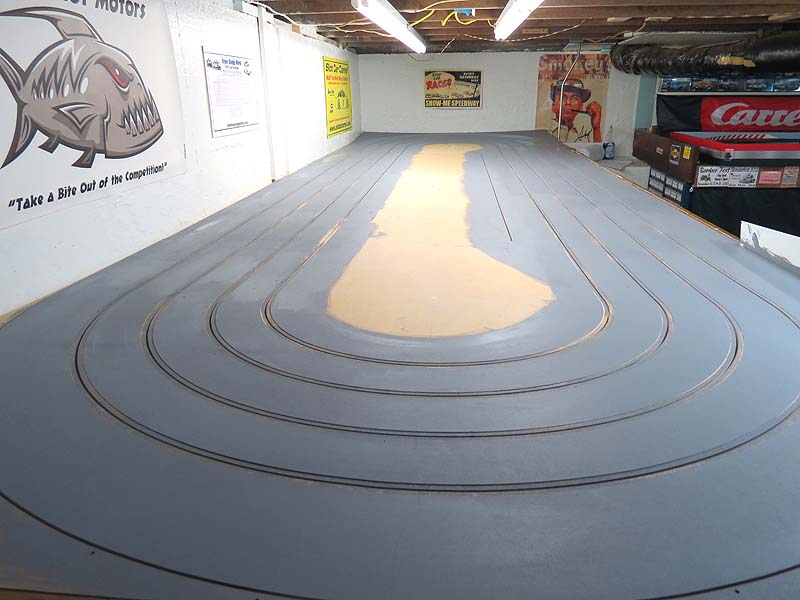
Paint Choice

As the video explains, I prefer Satin Latex. Smooth finish and excellent grip/rubber absorption properties. I brush on my paint instead of rolling.
I usually use 3 full coats to create a durable finish. Your first coat is what I call a “soaker” coat. The MDF will soak that first coat quickly. Allow it to fully dry about an hour or so before beginning the finish coats.
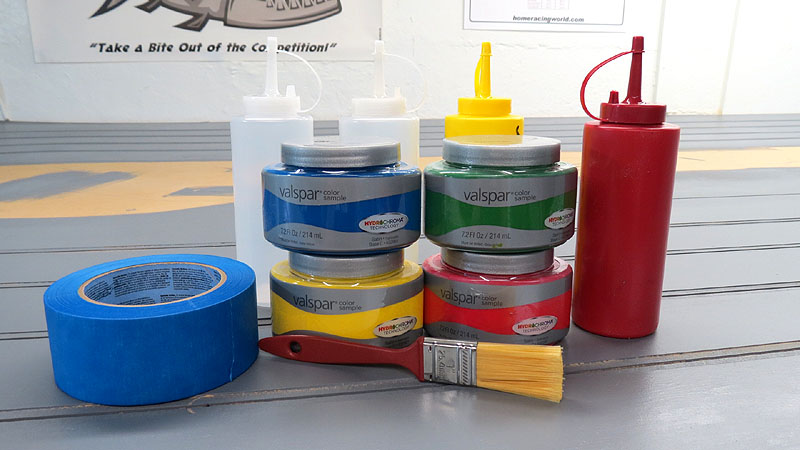
For the lanes I use the same type of Satin paint. These are the test jars from Lowe’s again. Using the condiment squirt bottles (Slot Car Corner Lane Color Ditribution System) really makes it easier to get a complete coat inside the slot and gains.

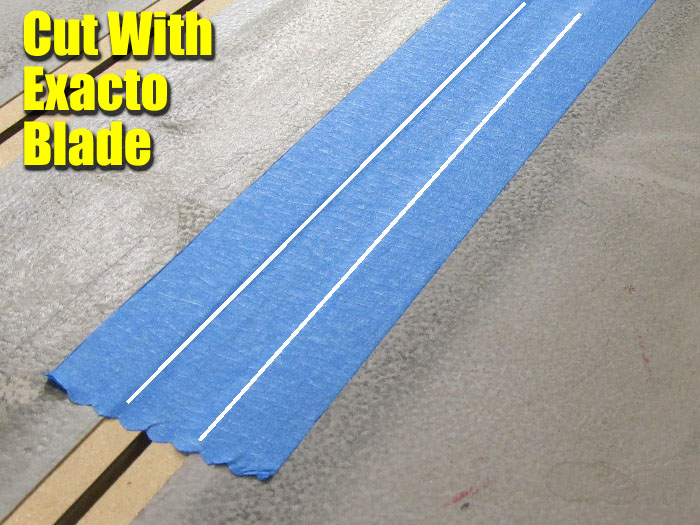
First we mask off the lanes. Then I cut out the center with an Exacto blade.
These images are from our first track, but they apply here as an the example.
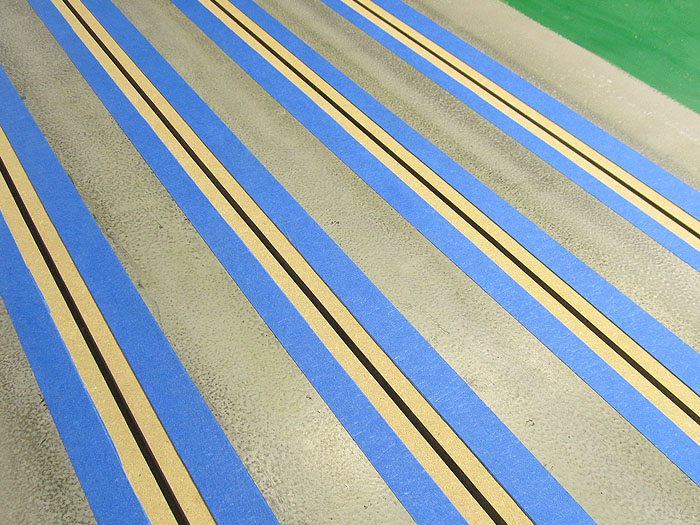
Make sure your gains are fully coated. The adhesive on the back of the braid does not stick to bare MDF very well. So even if you do not want to paint your lanes a certain color, make sure it’s fully coated with your base track color.
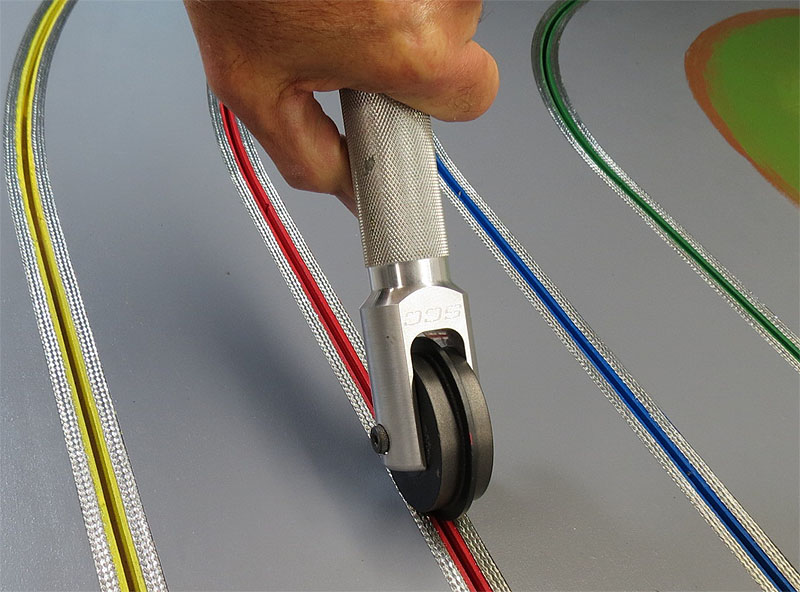
Laying Your Braid

Before you begin, use a 1/4″ drill bit to create your “drops”. I use a square to line things up.
Rolling the braid is important to fully seat the braid/adhesive. I re-rolled it 24 hours later to double check myself. After that I rolled it about a week later but it did not need it. I still like having the roller on hand in case I need it, but so far the braid has stayed right where I laid it.
Finish Work

This shows why we routed that outside edge. I chose Plexiglass to create a more durable wall system. Again, the video explains it all.
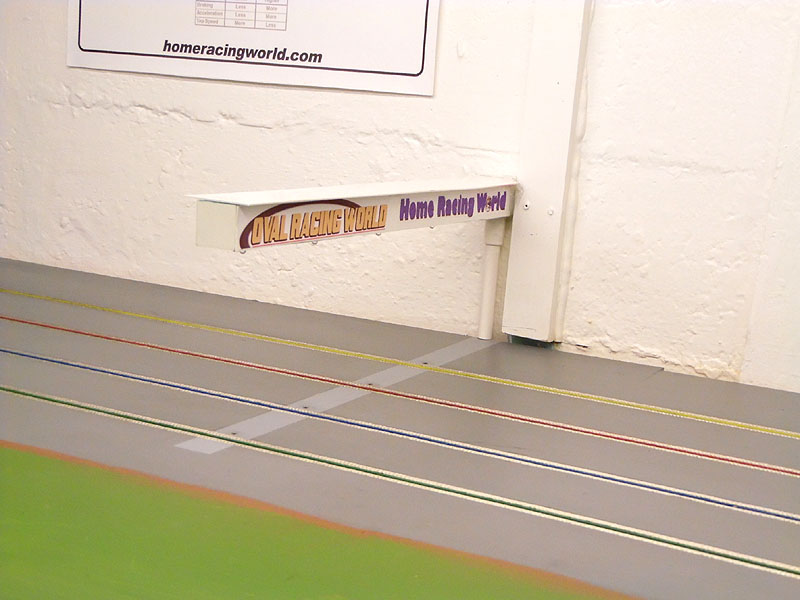
Timing

Still use and trust the Trackmate system.
Installation is the same as we covered HERE IN OUR TRACKMATE REVIEW.
Final Thoughts
I hope these videos and photos help you in some way to create your own wood track.
– Harry
Thanks again to Slot Car Corner and all the people on our forum who are always ready to help.
Copyright © 2020 Home Racing World
