
Article from AUG 2009
Track still in use today

Thursday August 13, 2009
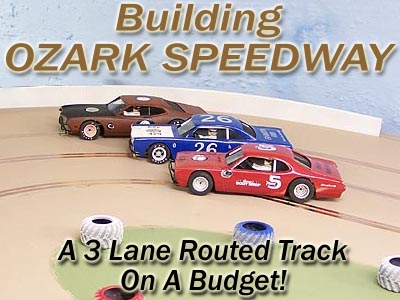
Building Ozark Speedway
This project has been one that I really never thought we would do. The space this track will occupy is where our Dixon Hills Artin 4 lane road course used to be. It was not easy to tear down this great track, but it served its purpose for almost 5 years with countless hours of racing fun. After building the Show-Me Speedway oval and then the MidMo 3 lane road course on the other side of the basement, the good old Artin just did not get much track time. In fact, the last few events saw it become nothing more than a table for slot car boxes. Well, there was no way we were going to have a 4 x 16 foot space just for that. Nope, not happening. There WILL be a track here that we know will get plenty of action.
After looking at several different options, one design was the clear choice: A 3 lane dirt oval! Why an oval when we have one already? Simply put we are oval racers at heart. And when we have our race events the Show-Me Speedway gets a lot of use with a few racers standing around waiting to get in on the fun. Well now they will have another oval to do battle on!
We also have a budget like anyone else. Building a routed wood track is not as expensive as you might think. How about a whole 4 x 16 oval like this for under $300 dollars?
Yes it can be done!
NOTE: Any prices mentioned for material are the prices in our local area as of August 2009.
First was tear down. This was not easy for us, but we must move on.
Starting to unhook!
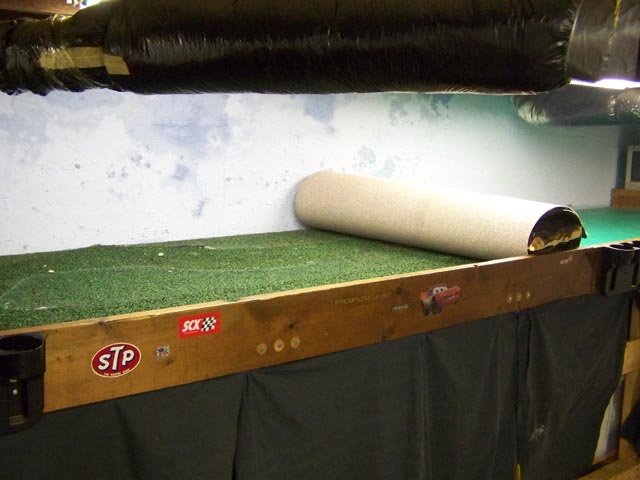
Rolling up the old carpet. We won’t need it:)
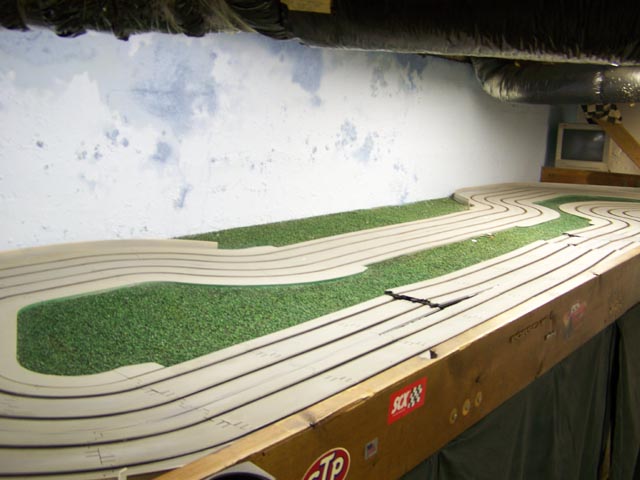
Ok, we have a “blank canvas” to work with!
Wow, looks rough doesn’t it?
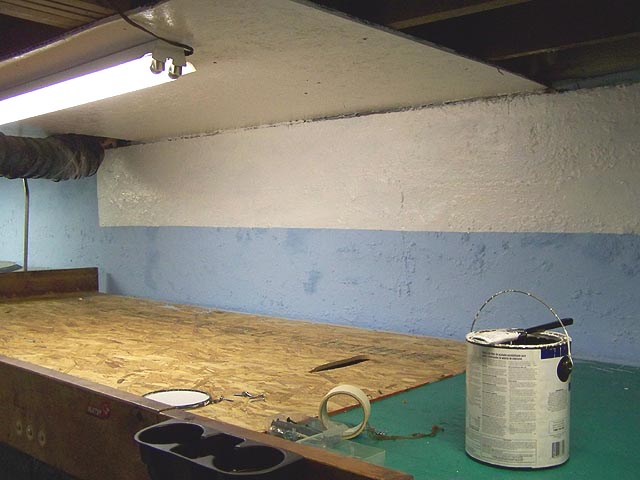
First step was the ceiling. Our old basement always needed this.
We mounted sheets of 7/16″ OSB up top to stop the dirt and dust that would shake down over the track.
Then we gave it 2 coats of semi-gloss white.
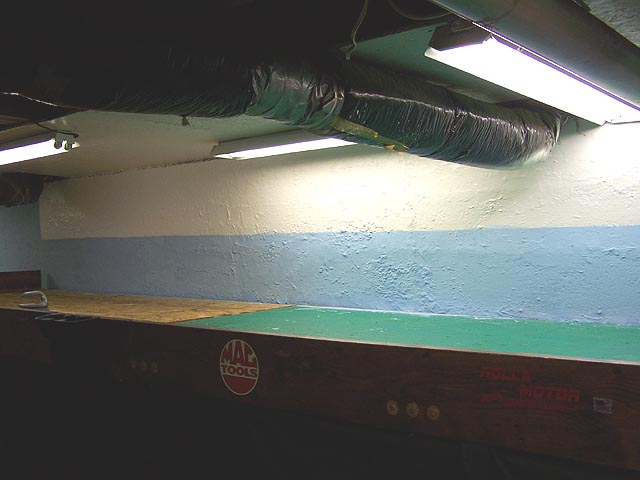
Done! We also added another light.
We cut the blue “sky” in the back to half. The top was painted white to help reflect light better and it worked.
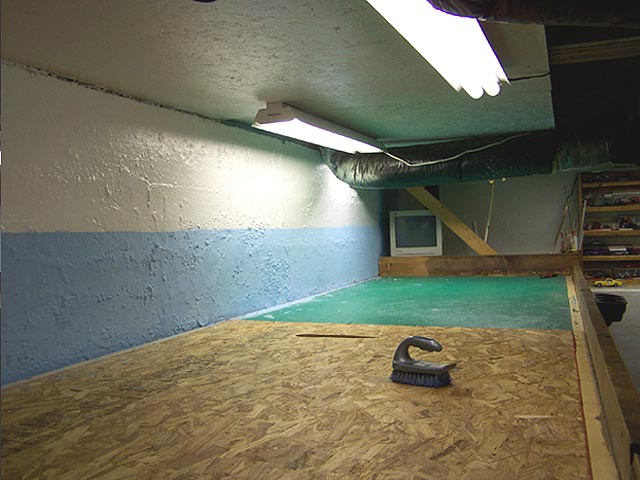
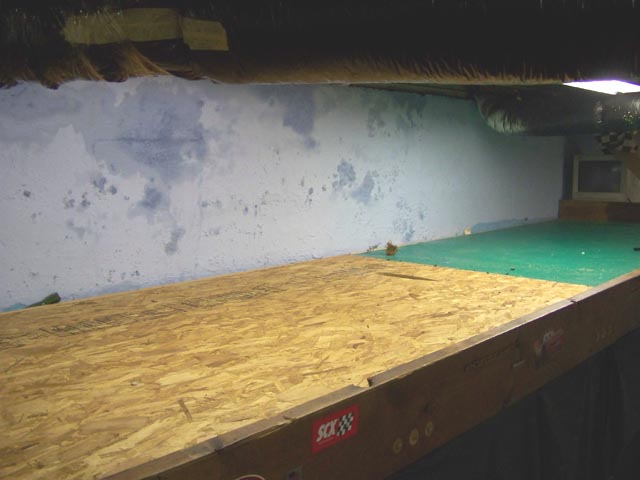
Yes, this will do. Time to lay down some MDF and build a race track.
Building Ozark Speedway
Part 2
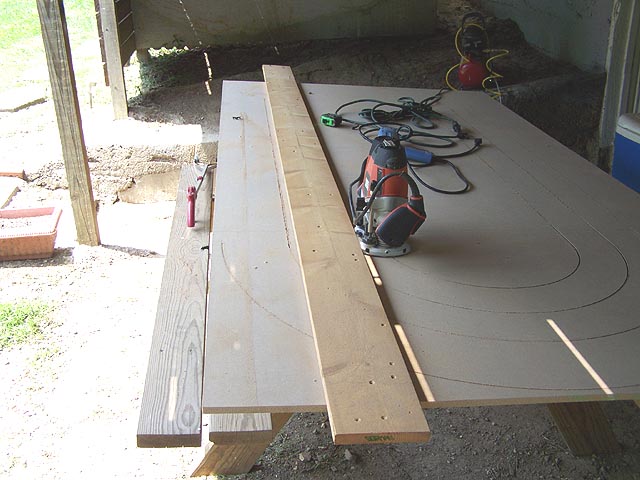
Ok, time for some lumber!
We have here 2 sheets of 1/2 inch MDF.
Time to start testing our lane spacing.
I think 1/2 inch MDF is the best thickness. It is easily bent and twisted for curves and banking and not as heavy as 3/4.
We have built quite a few tracks with this thickness and all of them are still going strong.

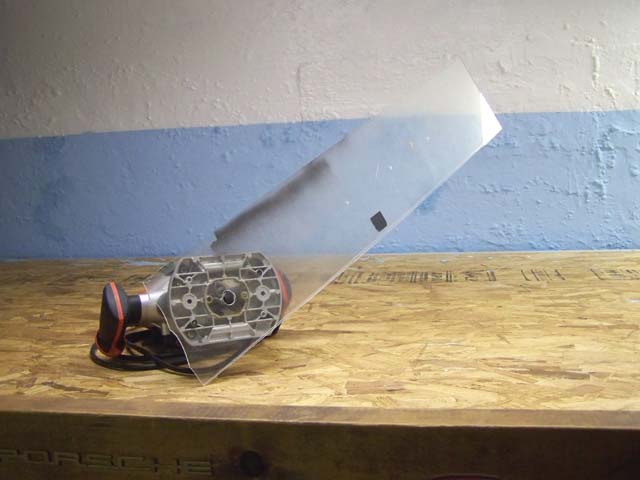
It better be right. Because it’s time to fire up the router.
We are going with 4 inch lane spacing. We are making this spacing slightly wider to better accommodate the H&R and scratchbuilt series of 1/24th – 1/25th scale cars.
We will STILL HAVE CONTACT but this will cut down on needless des-slotting due to width on the open wheel cars.
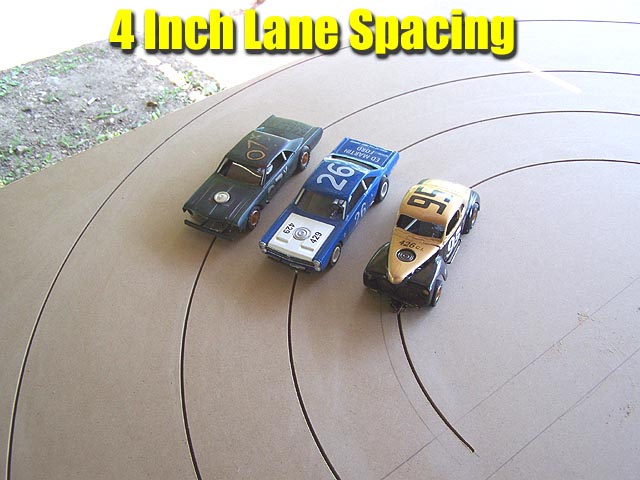
Ok, this turn is routed! Yes, this lane spacing will work just fine.
What would life be without a little comedy?
Ever have one of those days when everything seems to be going against you? Yeah, sure you have!
Well, I broke the radius gauge after I did the first corners! Well now what? Simple, find a scrap section of material and make a new one!
Done!
It is not pretty, but it worked.
Time for the straights. There are different ways to do this of course, but using a board as a guide is the way I like doing it.
Many people use a circular saw for straights, but mine went out on me. No problem, I like using the router anyway.
I left 1 foot on the ends un-routed. I do this because I will route the transition between the 2 sheets when I have them in place on our table.
I use the same board guide method. I place the router on each end to set the board just right then screw it down.
When we are done we will have a perfectly matched slot.
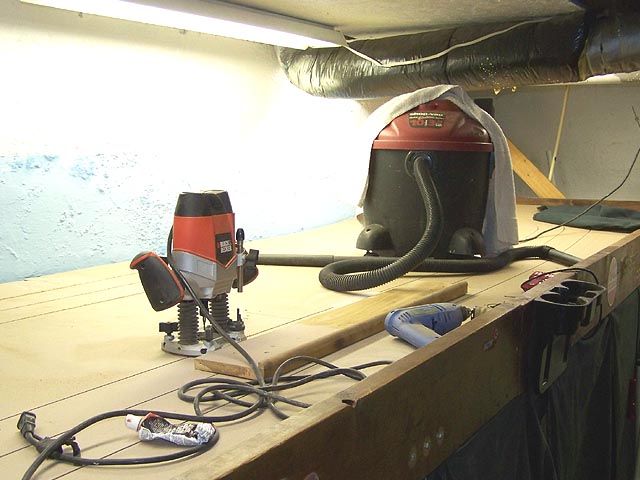
For the small section we are going to kick up some dust. Have your shop vac on hand!
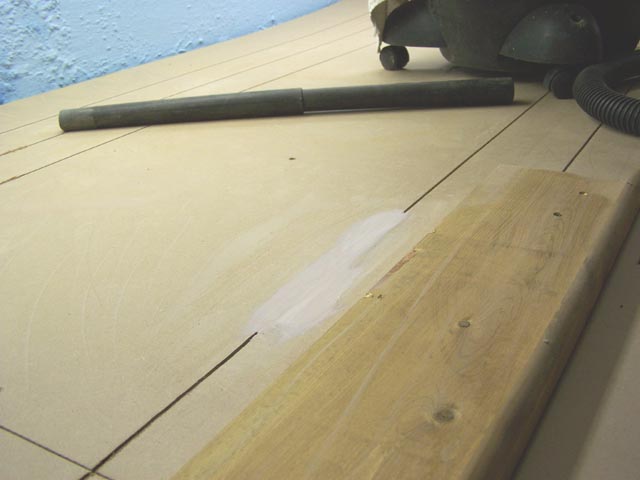
One thing you need to know about routing a track: Mistakes are nothing to worry about.
Above you can see where I wobbled my straight.
I simply filled it with standard BONDO body filler.
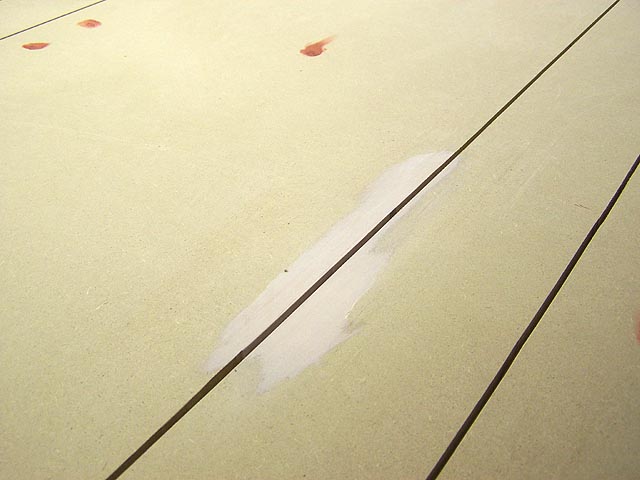
Once it cured you can simply route right through it.
See? No worries.
Building Ozark Speedway
Part 3 – Conclusion
Ok, let’s talk about banking. I do not really make a true bank like other folks do.
I simply elevate each end of the track a few inches here and there.
This reminds me of the 1:1 dirt tracks I grew up on and is close to the
1:1 Lake Ozark Speedway right up the road.
I do not measure it really and I make each end a little different to make each corner a different driving challenge.
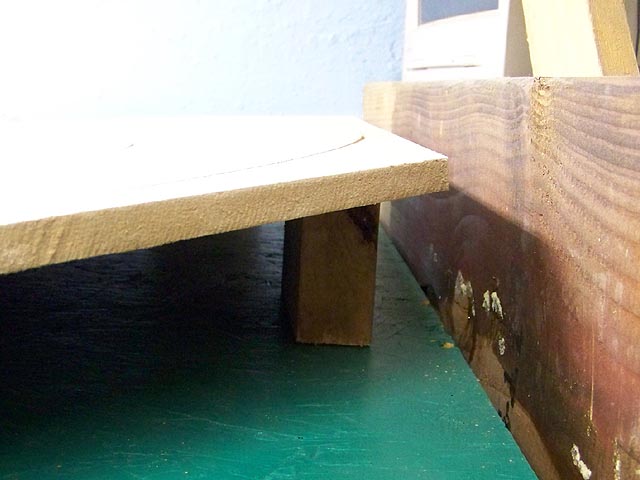
We just cut scrap sections of 2×4 and block up the ends. We cut one for the end as shown above and then one on each side.
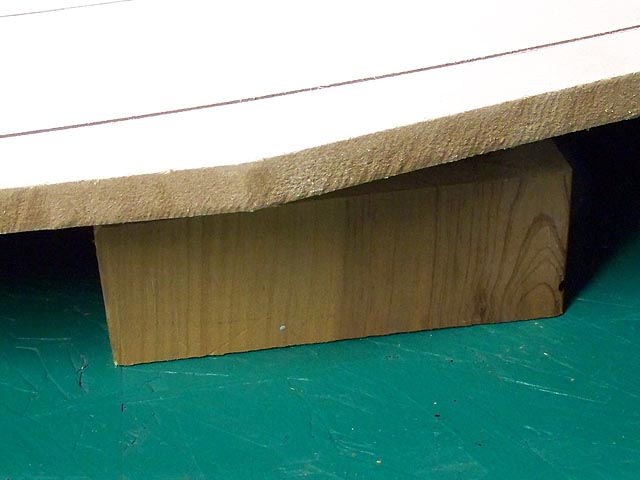
You can do this just about anyway you want. Be creative.
We then move and change them out until we find the banking we like.
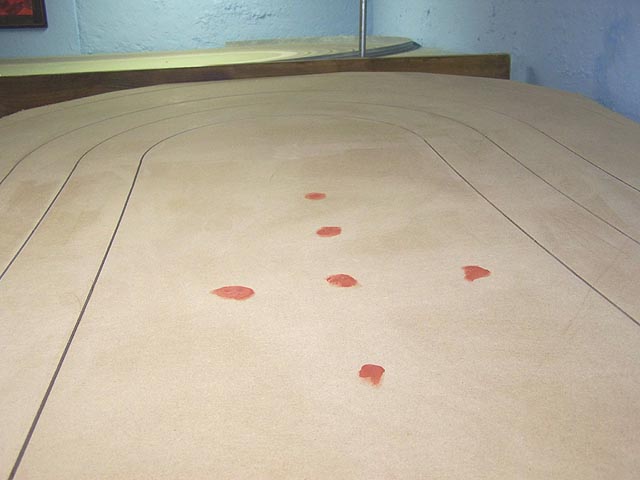
Next we “pin” the center down with screws.
I start by staggering the screws like shown above.
The first was measured 4 foot to be at the center of the track then I spaced the other 3 about 6 to 8 inches.
Finally I use 2 more screws on the outside. You may not think so, but this makes a pretty cool bank.
I used spot putty to fill up all the screw holes. You do NOT need to use putty. DAP wall spackling is best. I was out of it so I used what I had.
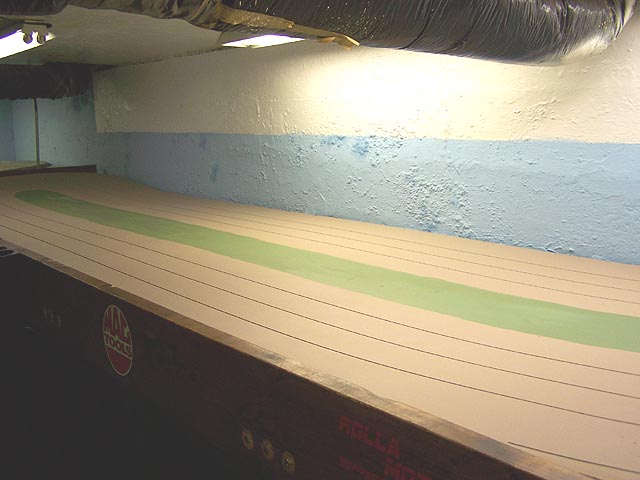
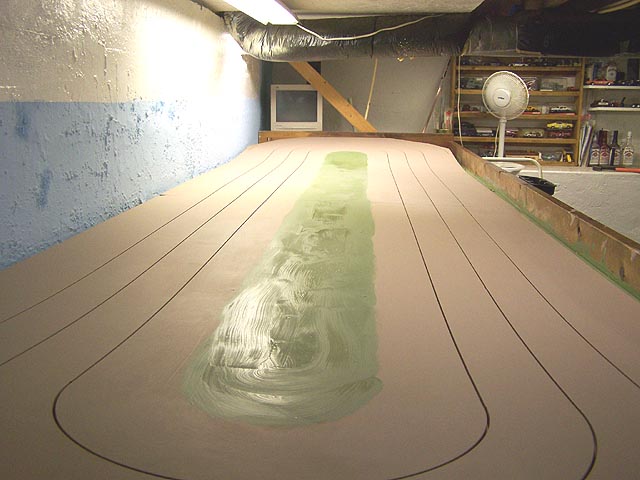
Ok, time to paint! We are making this track look more like a dirt track by using a light brown color.
We used VALSPAR FLAT LATEX paint found at Lowe’s.
The brown is part# 2006-10A “Free Wheeling”
Perfect name huh?
The green is part# 6001-4B “Native Henna”
I was going to cut out the center, but did not see a good reason.
We have a habit of stacking cars there while we are playing and it also makes things easier to clean.
Time for taping. You can use just about any brand of adhesive backed copper tape.
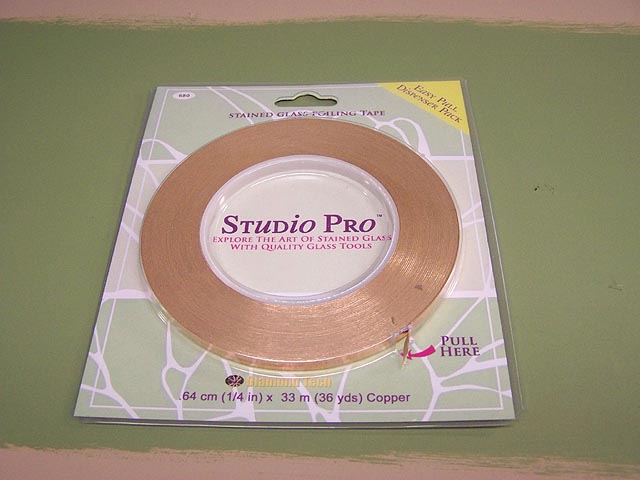
I chose this simply as it was on sale at Hobby Lobby.
You can still get it there or Amazon. About $5.00 a roll. Always order more than you need. You will always use it for repairs possible other projects.

To attach the wires to the tape, we notch out a small section and push the tape inside it.
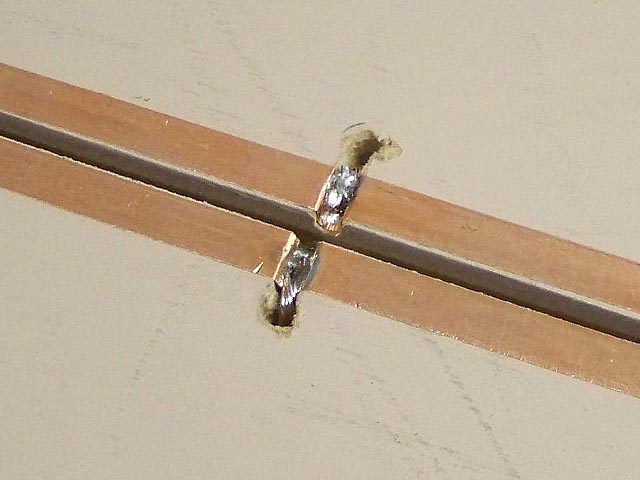
Then we lay the wire on top and fill with solder. It may not look fancy, but it works and the cars glide over it like it wasn’t there.
Our wiring schematic is as simple as it gets.
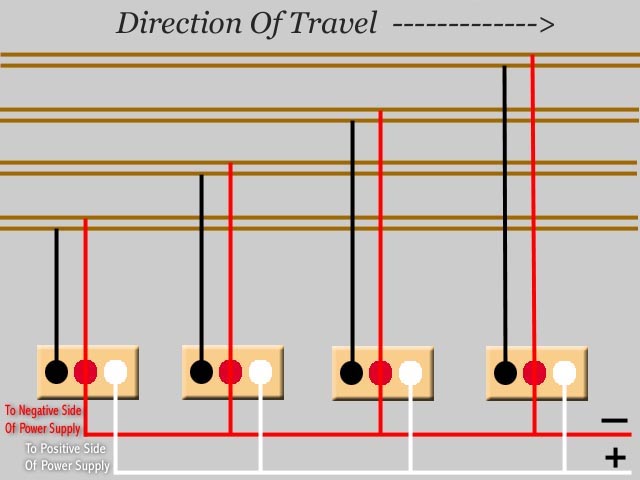
This shows 4 lanes, but I think you get the idea.
*EDIT*
I removed the old Parma controller reference to update with current products in our hobby.
TODAY if you are on a tighter budget, look into the Professor Motor brand of resistor based controllers.
(Courtesy Slot Car Corner)

Remember, we are keeping it simple.
YOU can add any high end controller you want.
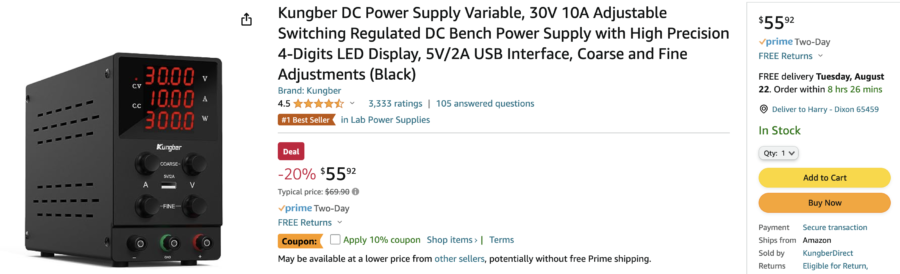
Power Supply availability has changed over the years as well.
If you are just running “home” style motor like Slot.it, NSR, Carrera, Predator, etc
then a 10 amp unit is all you would need for three lanes.
AMAZON EXAMPLE BELOW – DO YOUR OWN SEARCH PLEASE
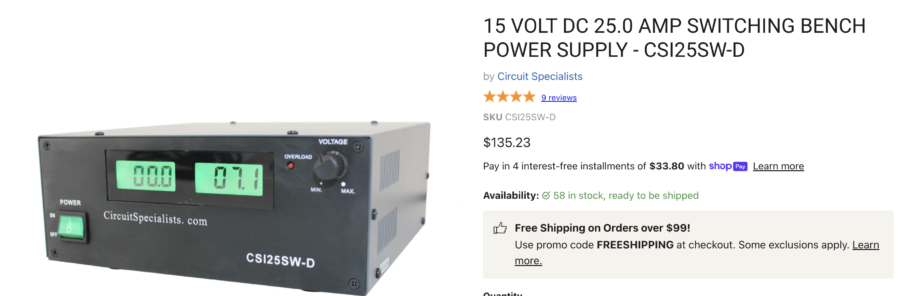
If you feel the need for more power, this is my favorite.
The wiring of the controllers was accomplished by using the standard 3 bolt method.
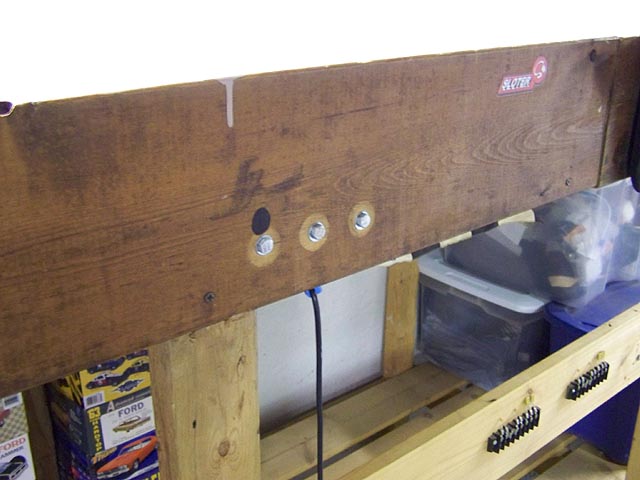
Except here we reverse the bolts so they do not stick out and hurt anyone.

We also use loops on the controller ends and they are held in place by a second set of nuts.
The photo above has the controller loop nuts removed so you can see easier what we are doing.
ALL FINISHED!
Except for a few details here and there to come later, she is combat ready!
All in all it took about a week to build.

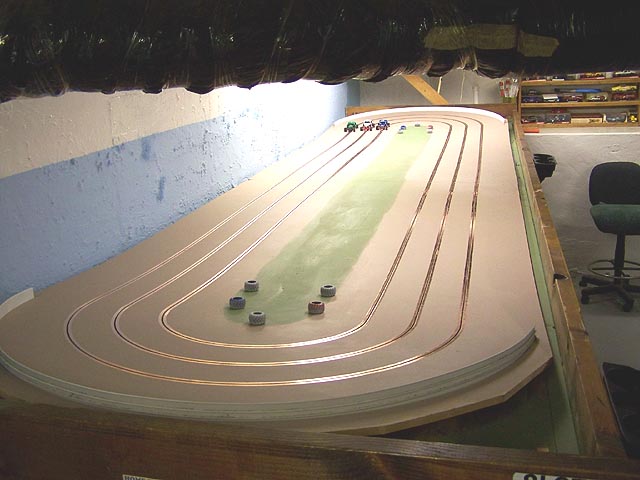
Plenty of room for our 1/24th – 1/25th Bombers, Modifieds and Coupes!
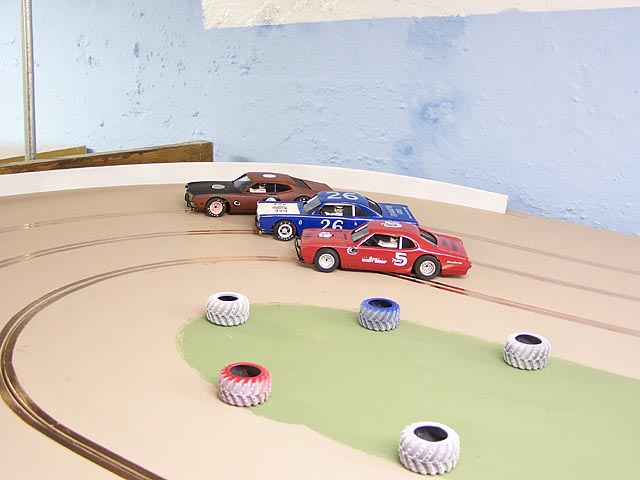
4 by 16 foot can be more than enough room to build a fun layout.
And sometimes keeping it SIMPLE makes things even better.
So what does it take to build a track like this?
2 Sheets 1/2 MDF (Medium Density Fiberboard) – $16.70 each
2 Quarts FLAT LATEX paint (brown/green) $7.00 each
2 rolls of copper tape (72 yards) – $6.99 per roll
Mounting hardware for controllers – $15.00
Wire. – $12.00
That is a bargain in our hobby for a 3 lane track!
You can add a timing system later on when you need one.
For our simple fun, we can wait until next payday and just have fun!
This was a fun project and we are happy with the end result.
As much fun as we have building and racing oval cars, this track was the only real answer.
Never underestimate the fun factor on an oval!
– Harry
