Adding fender flares
A friend wanted larger flares for his Scalextric Ford Escort Mk. 1. I was game so I thought I'd share my way of doing so.
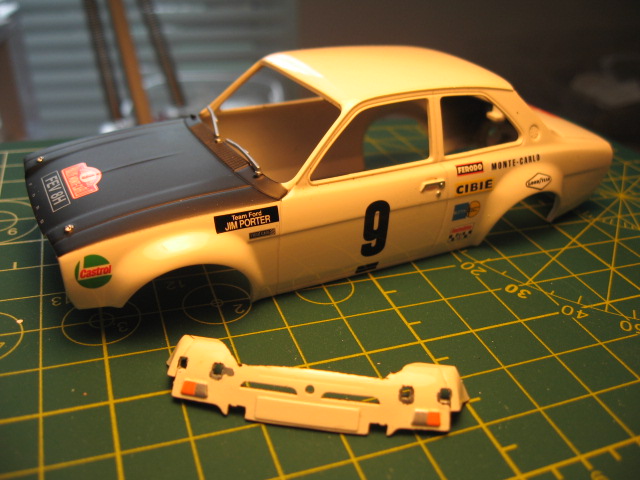
Removed the body of parts (windscreen, grilles, lights and bumpers) and cut the front valence from the chassis as the added front flares would be integrated. Stripped the factory paint by soaking the body in a bath of 99% isopropynol alcohol for 8 hours.
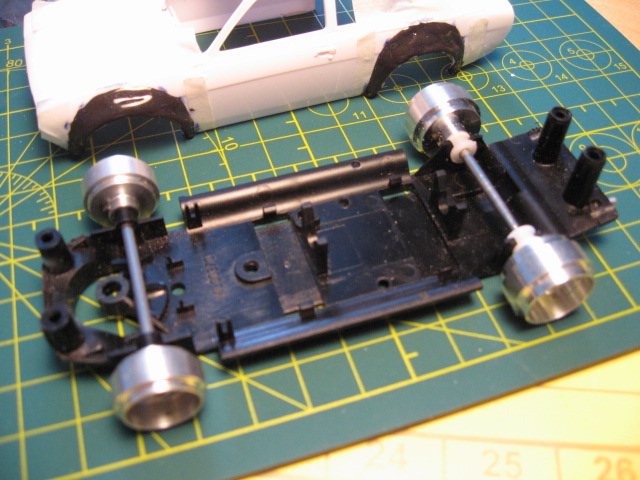
Good idea to have the chassis complete with the wheels/tires and track width to be used for constant reference.
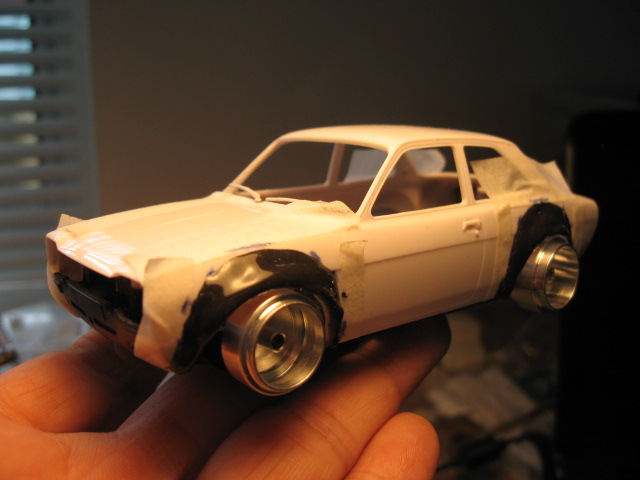
Measured and made some reference marks with tape and felt pen. Mixed up some JB Weld two-part 7 minute epoxy and started adding layers.

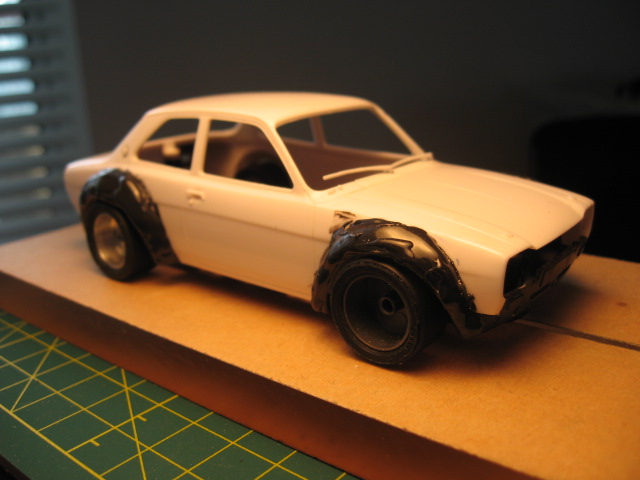
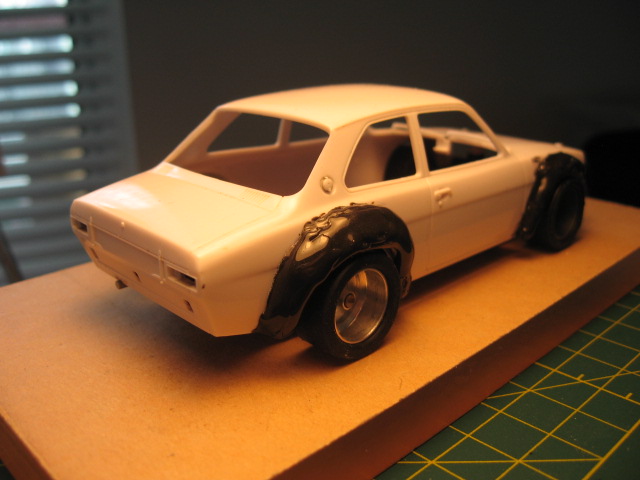
Started rough shaping with a file and sanding pads followed by Tamiya putty application to fill the voids.
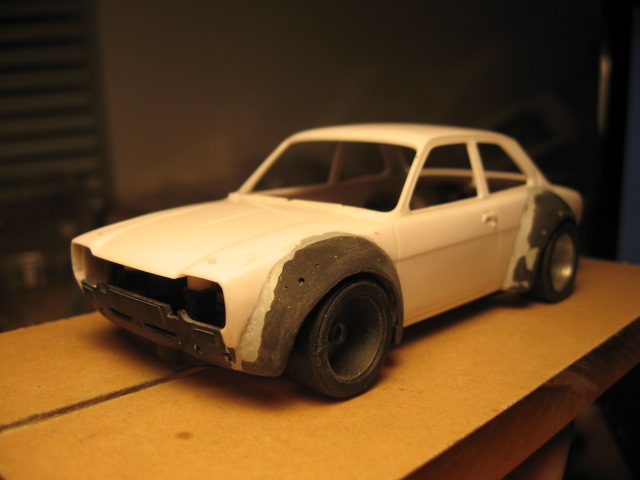
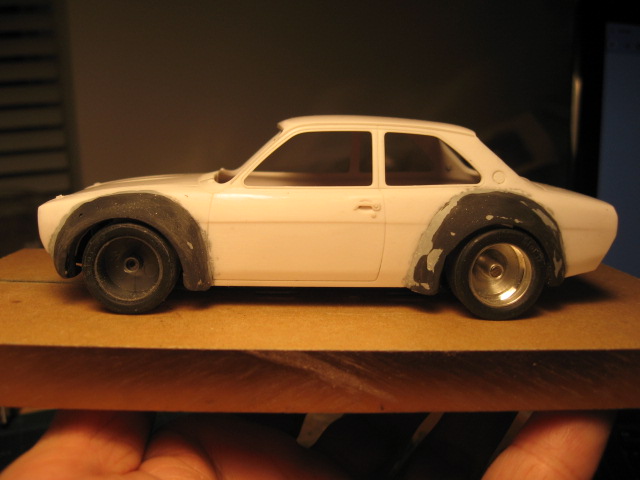
Repeated primer painting and sanding many times to get the final shape.
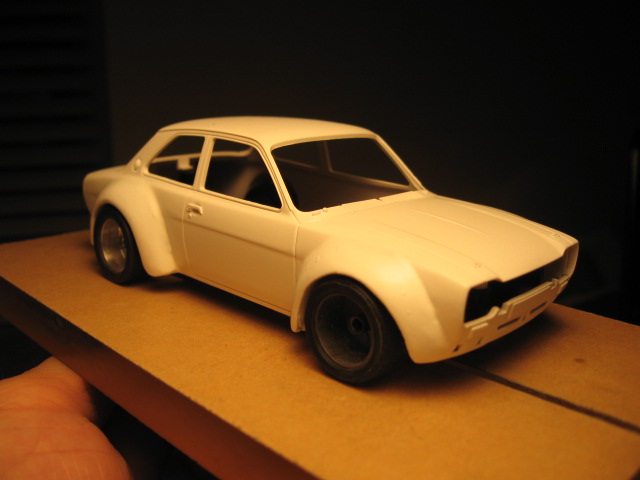
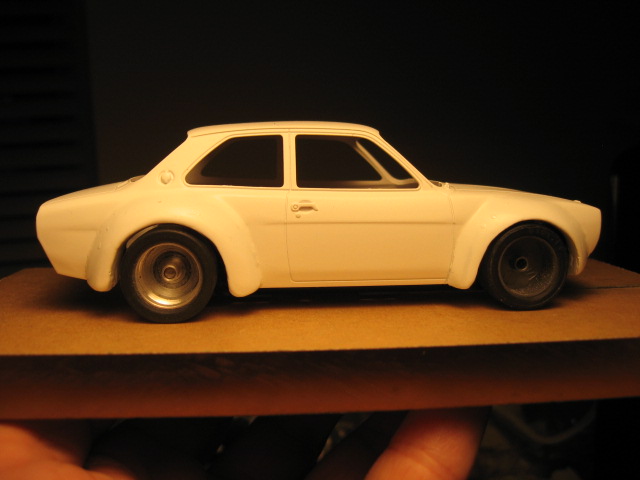

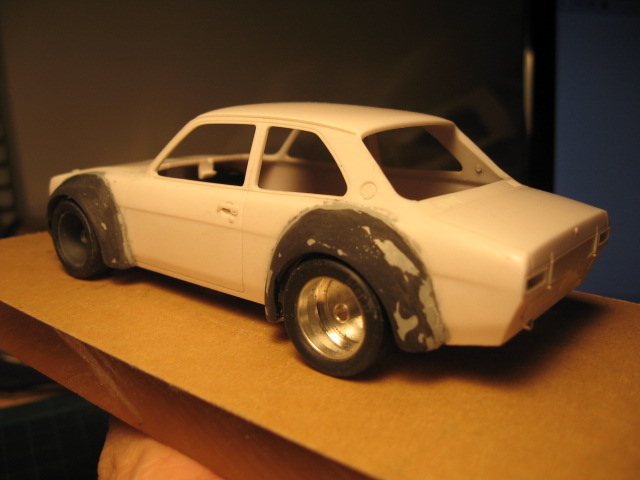
Took a couple hours daily for a week to get to this point.
Hadn't done flares in ages so I'm pleased with the results.
Dan
Removed the body of parts (windscreen, grilles, lights and bumpers) and cut the front valence from the chassis as the added front flares would be integrated. Stripped the factory paint by soaking the body in a bath of 99% isopropynol alcohol for 8 hours.
Good idea to have the chassis complete with the wheels/tires and track width to be used for constant reference.
Measured and made some reference marks with tape and felt pen. Mixed up some JB Weld two-part 7 minute epoxy and started adding layers.
Started rough shaping with a file and sanding pads followed by Tamiya putty application to fill the voids.
Repeated primer painting and sanding many times to get the final shape.
Took a couple hours daily for a week to get to this point.
Hadn't done flares in ages so I'm pleased with the results.
Dan