The standard chassis will have to be cut in order to keep just the front bumper, both sidepods and rear bumper.
We start by putting together the original and the Olifer chassis to paint the markings for cutting later.

Using the Olifer chassis as a template for the cutting marks
Meanwhile, the original interior can be glued at the front and rear of the body, in order to keep the front lights and part of the rear bumper.
Interior glued just at the front and at the back before removing the cockpit
The cockpit can then be removed, to be used later. Front lights and exhausts should now be added, before assembling the chassis.
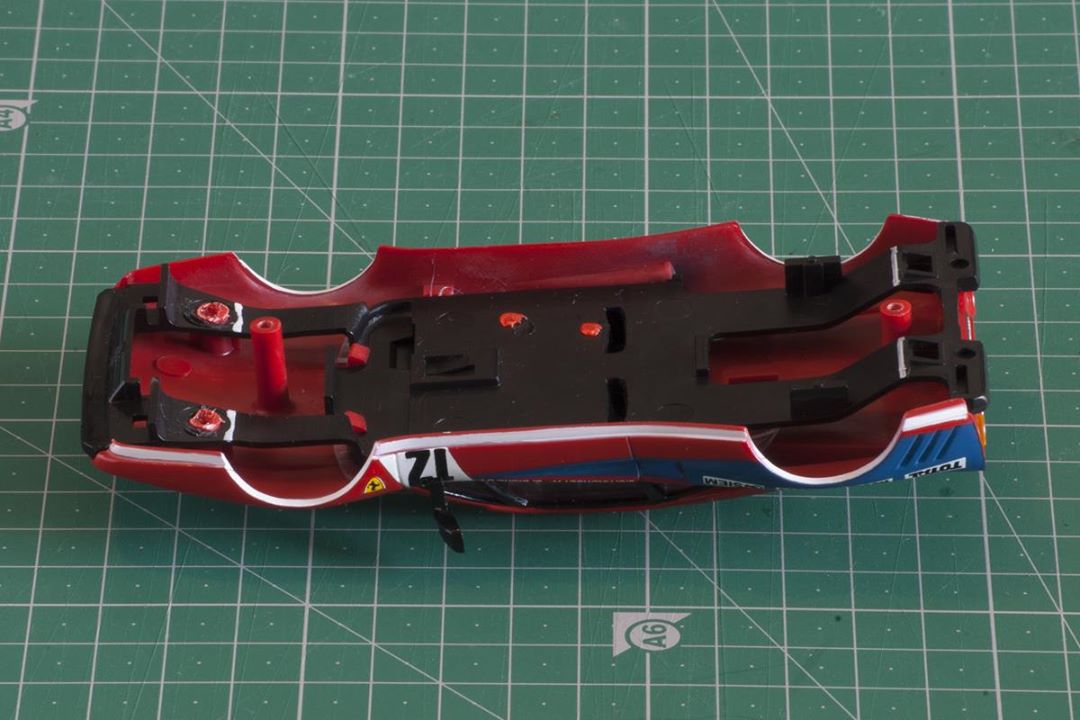
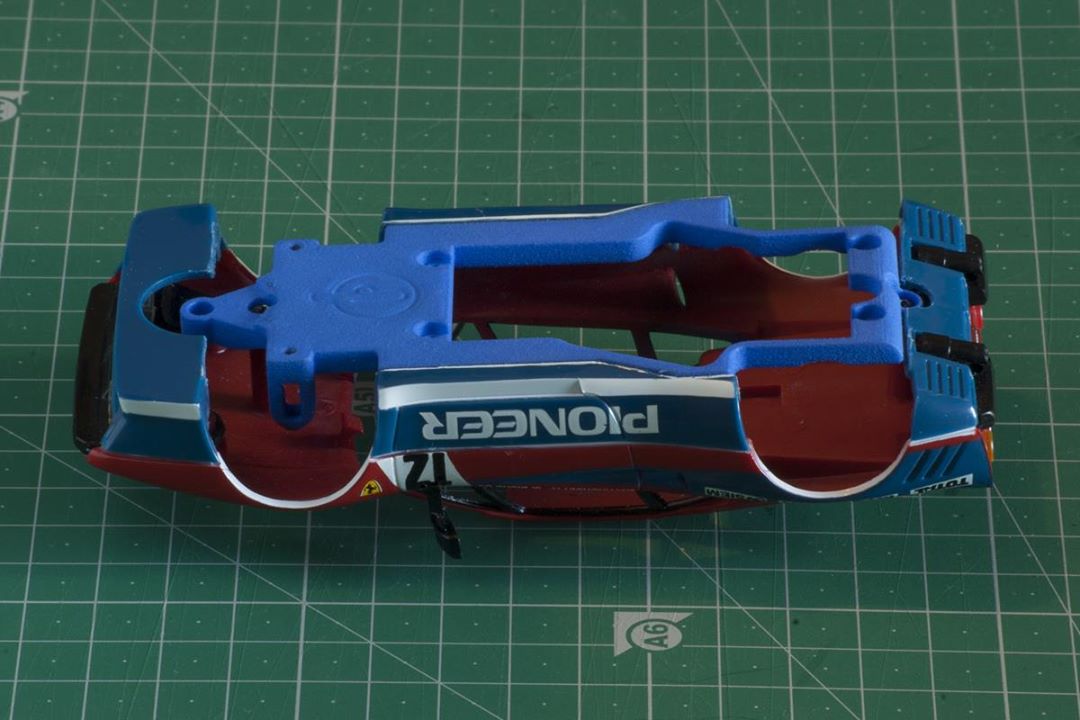
The chassis can then be glued to the body and screwed to keep it in its place. Cutting the parts separately would be an option but this helps to keep everything aligned.

Body and chassis glued, it's time to start cutting!
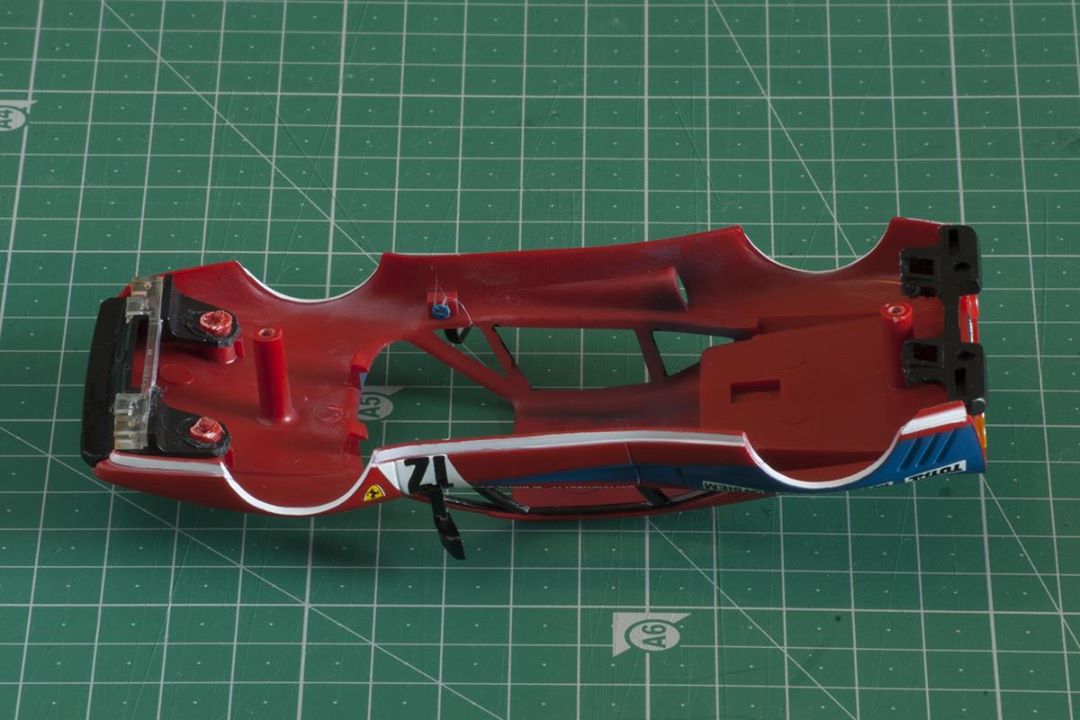
To keep the maximum robustness, we start by cutting the front, then the sides and the last cut is forward of the rear body post.
Rough cuts before the details are done
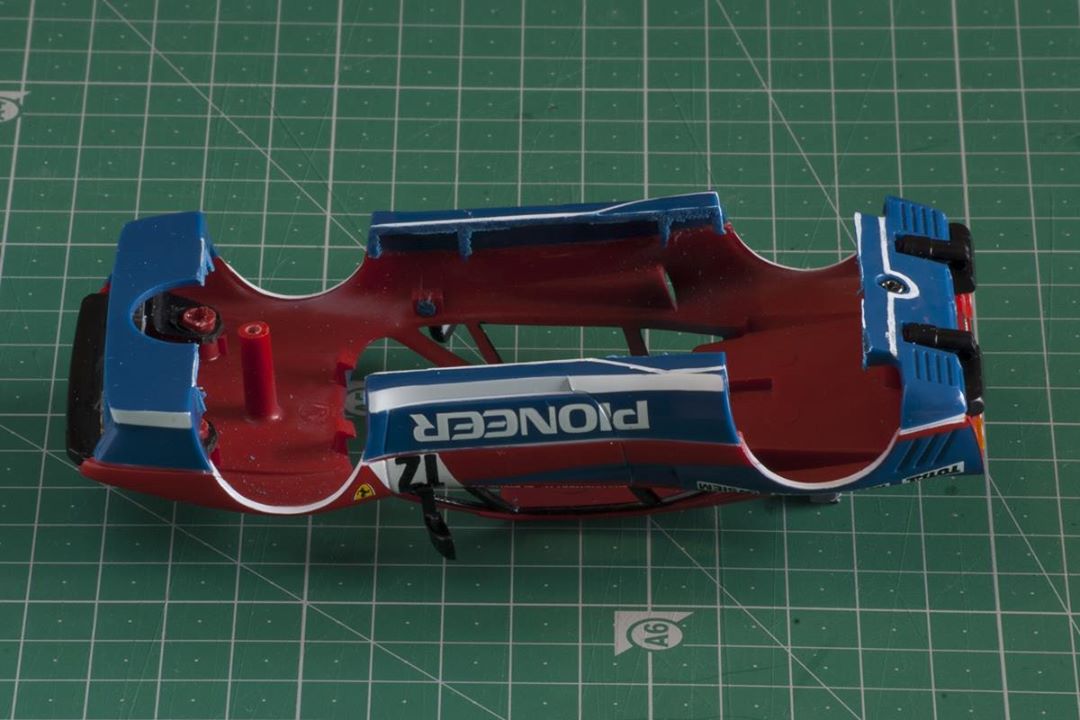
It’s now time to fine tune the sidepods and the rear bumper shapes, to make enough space for the Olifer chassis. It’s also a good idea to strengthen the bonding of the parts with epoxy or UV cured glue before working on them.
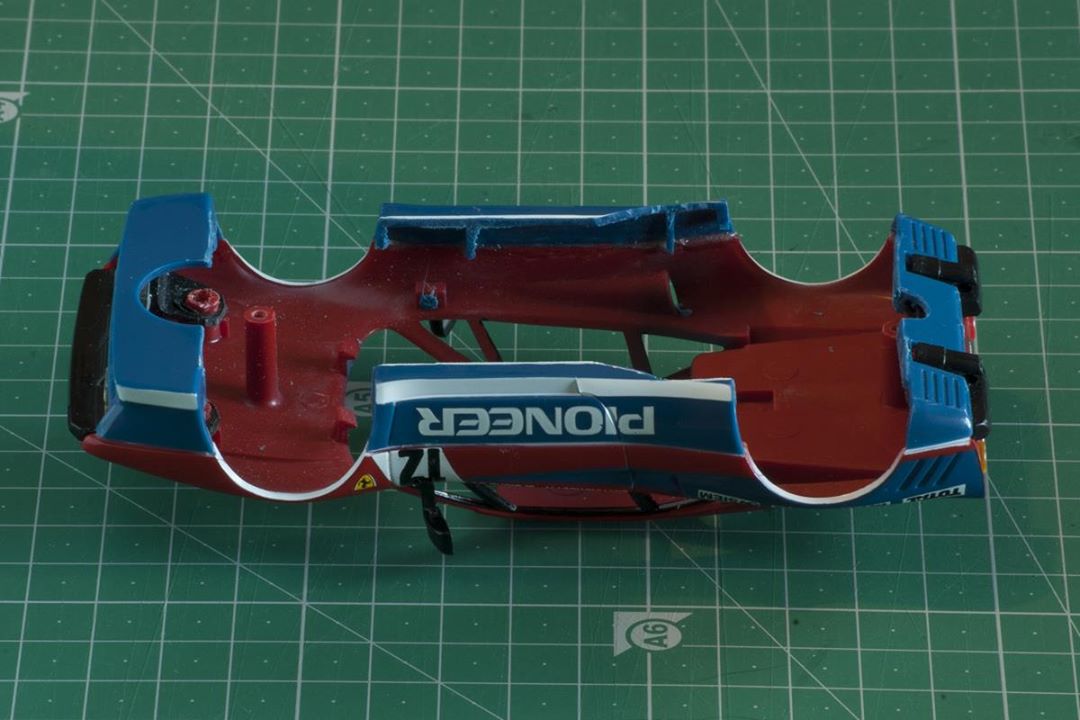
Almost done!
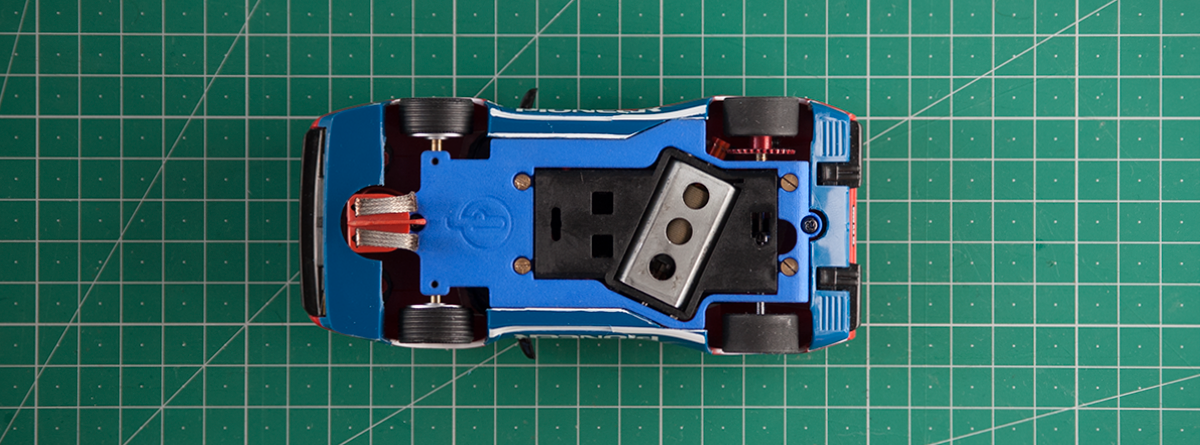
After some sanding and trial fitting, the Olifer chassis can now be assembled!
Now where were those wheels and motor?
To finish it off, the front bumper can be cut a little more to reduce weight and to clear more space for the guide, if necessary.
Depending on the motor configuration, the original cockpit might have to be slightly modified or replaced.