Scalextric Mercedes-Benz 300 SLR build
I've started another build for an upcoming proxy. It's based on a Scalextric Mercedes-Benz 300 SLR, the car that sent Mercedes out of the motor racing scene for almost 30 years; following the devastating crash at Le Mans in 1955. Bill (mcliams) has recently built a model of this car (the #20 car) and entered it in the ROAR proxy. After looking it over, I decided to give it a shot, too. I like the marque and it seemed like a reasonable car for this proxy.
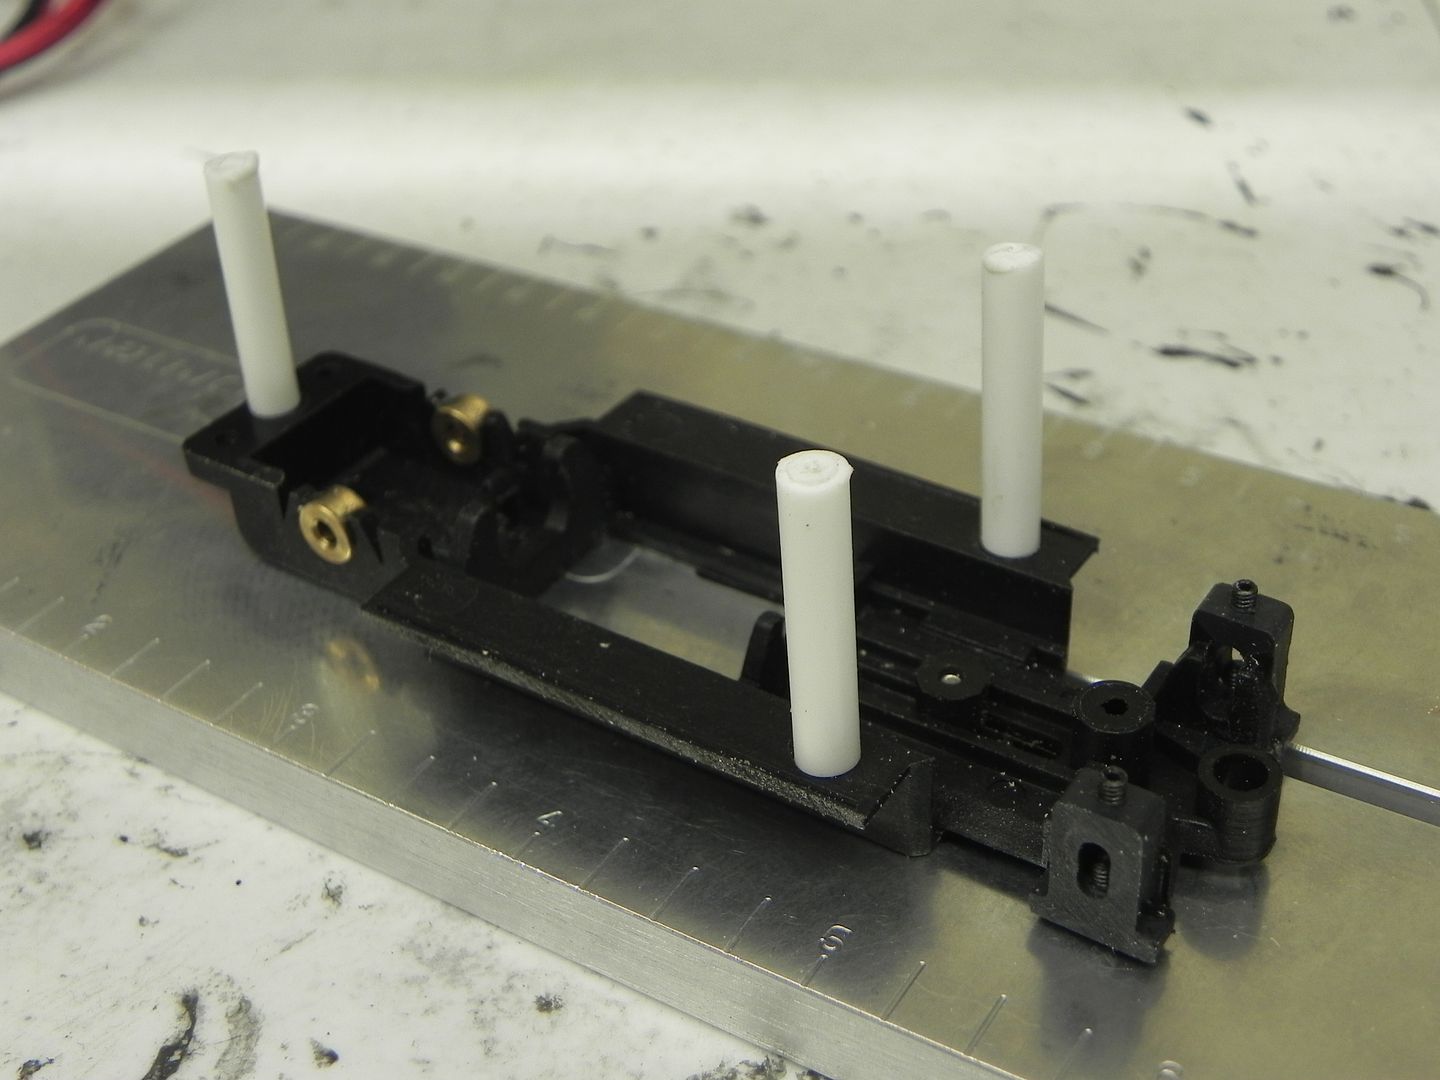
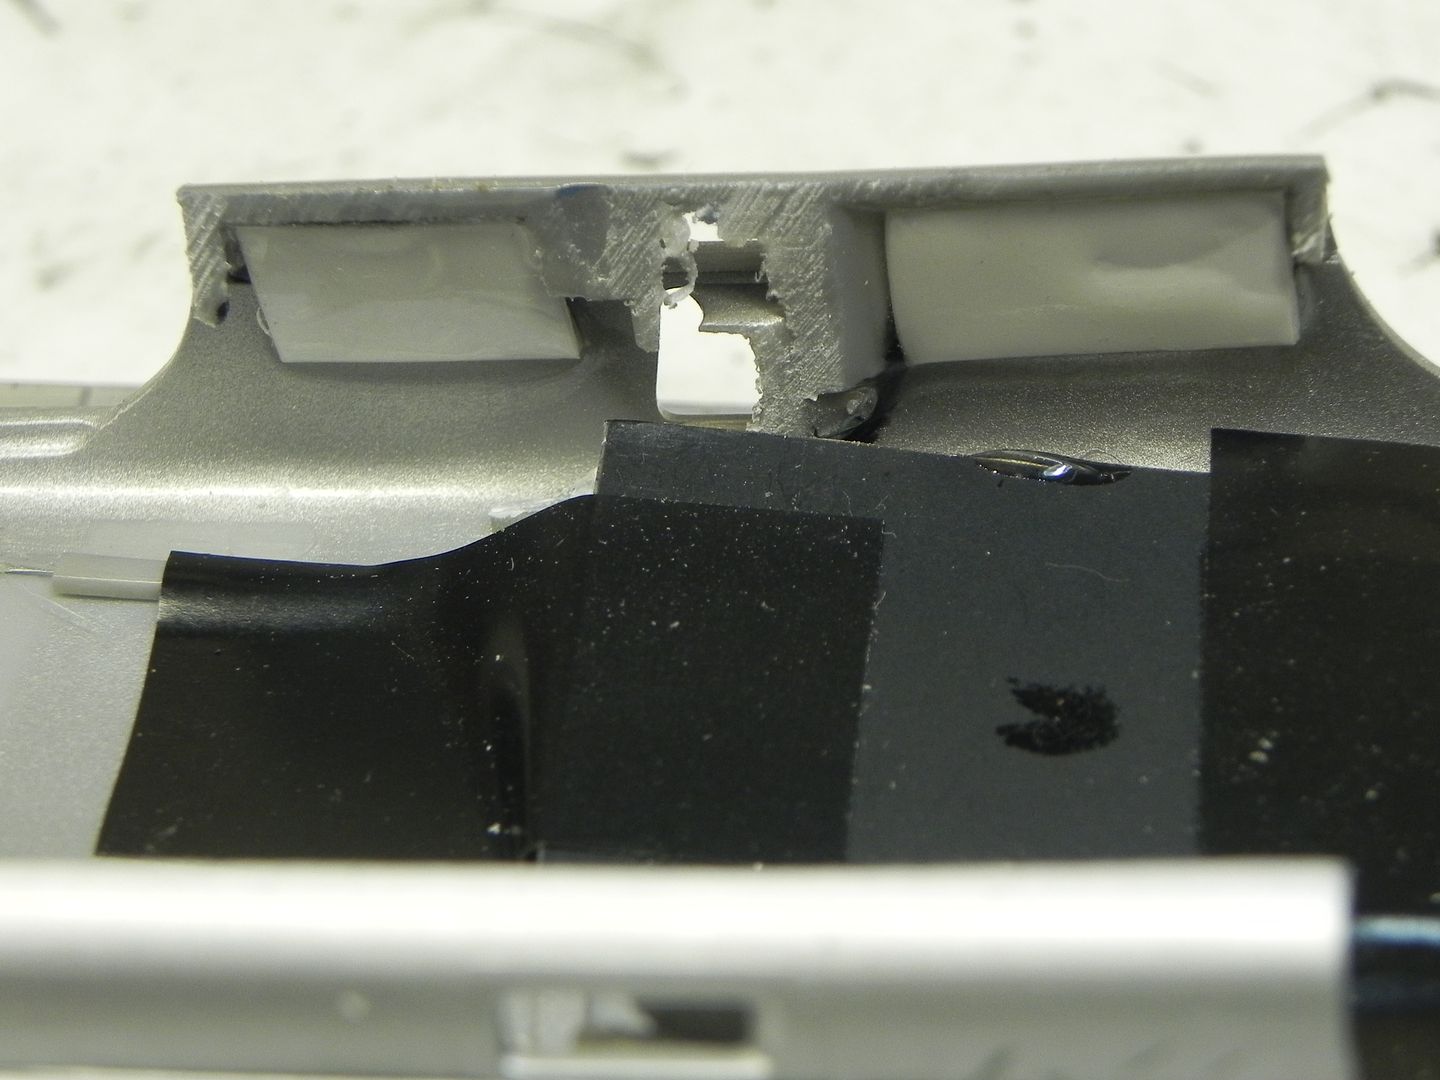
As with several of the Scaley cars in the classic line, this one has the rocker panels attached to the chassis, instead of on body. Since I was concerned about being able to get reasonable body float with this structure, I decided to migrate them off the chassis and onto the body. Here's a picture of the chassis with the rockers cut off:
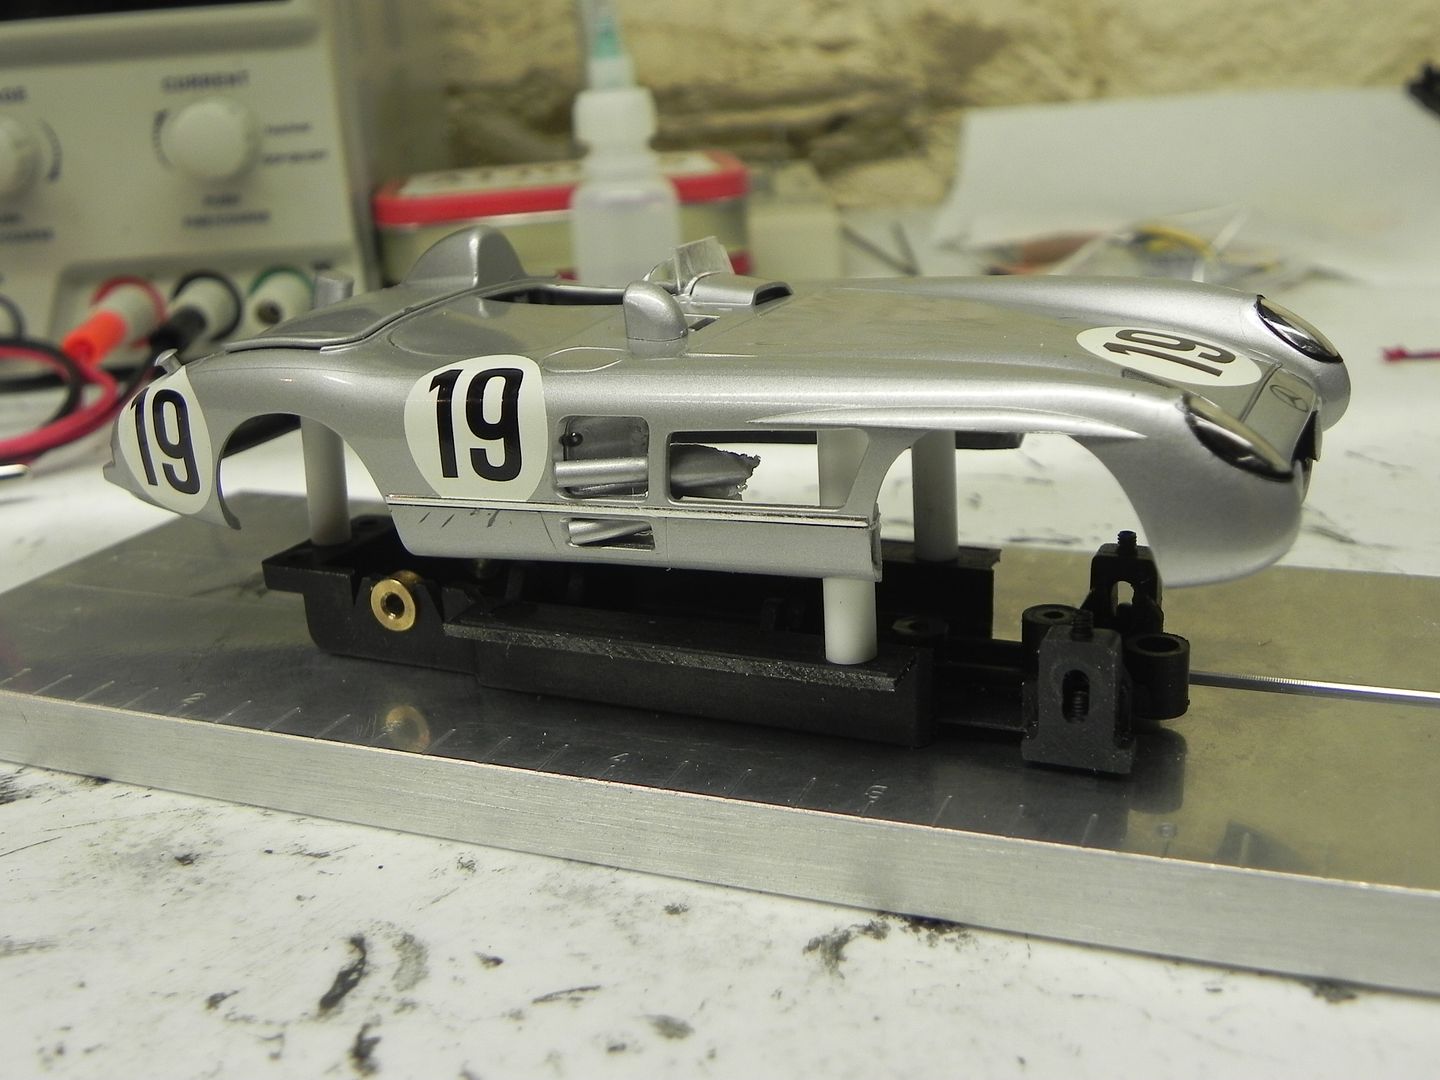
I screwed the body back onto the cut chassis and tack-glued the rockers on with thin CA, using tape to hold the rockers in place against the chassis. Then I backed the CA with my favorite plastic-to-anything glue (Loctite 389 - thank you, Chris Walker (chrisguyw)!). Then I mixed up some 30 minute epoxy and used that in conjunction with 1.0mm plastic strips, to strengthen the rocker joints:
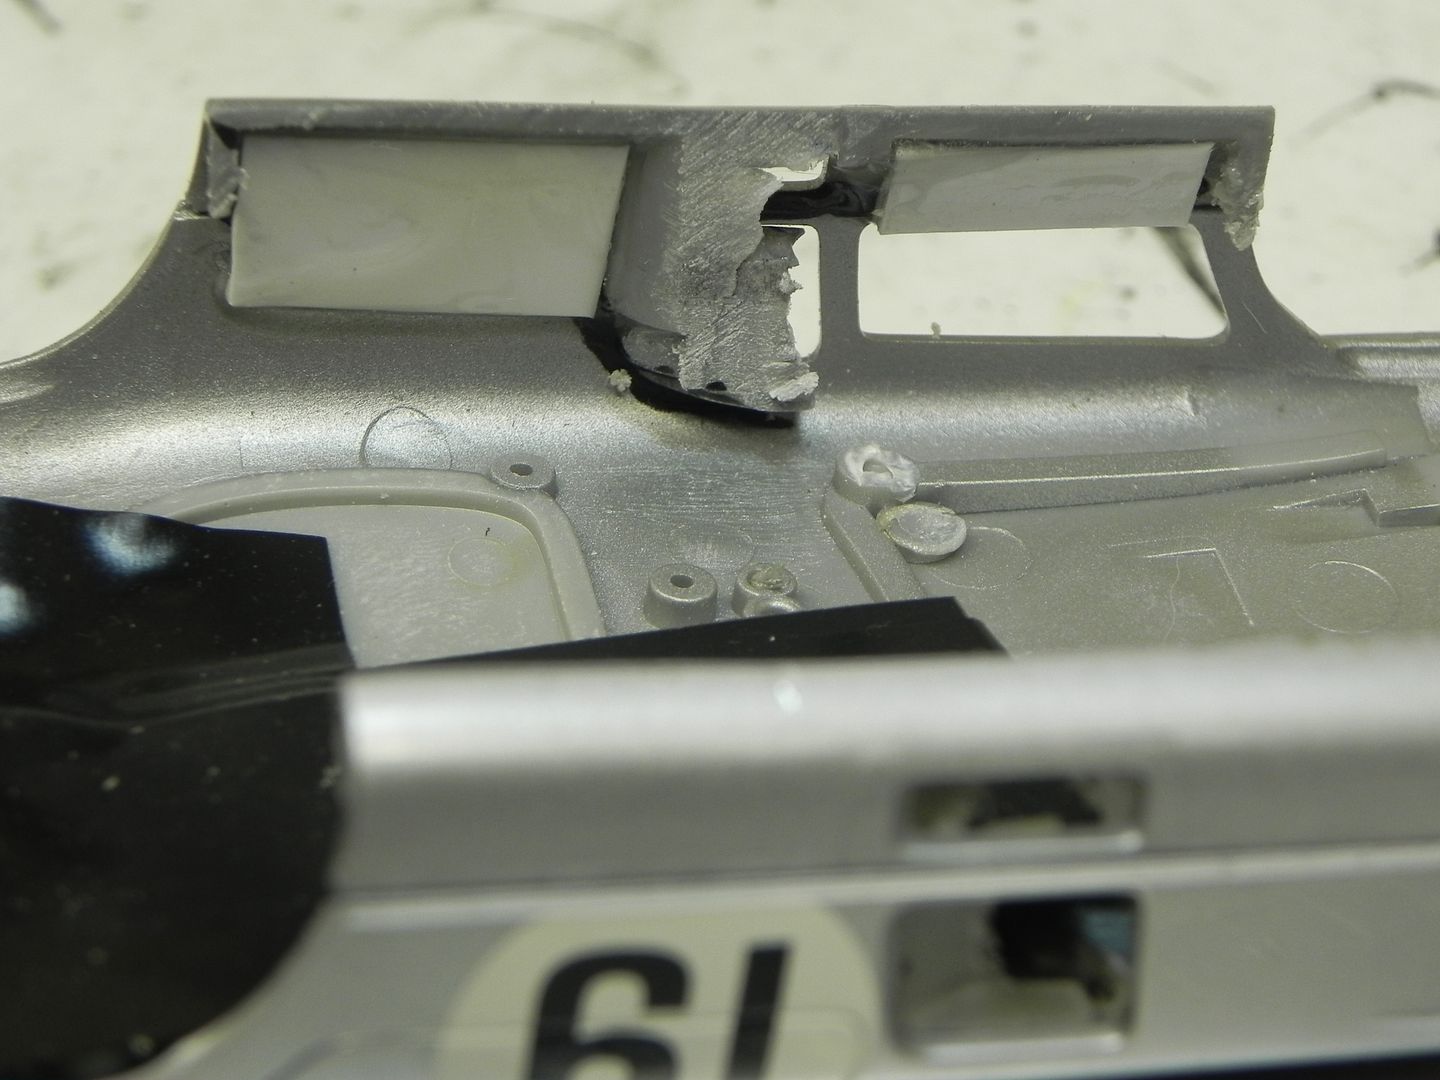
After setting up for 24 hours, the result was pretty strong and the look was OK:
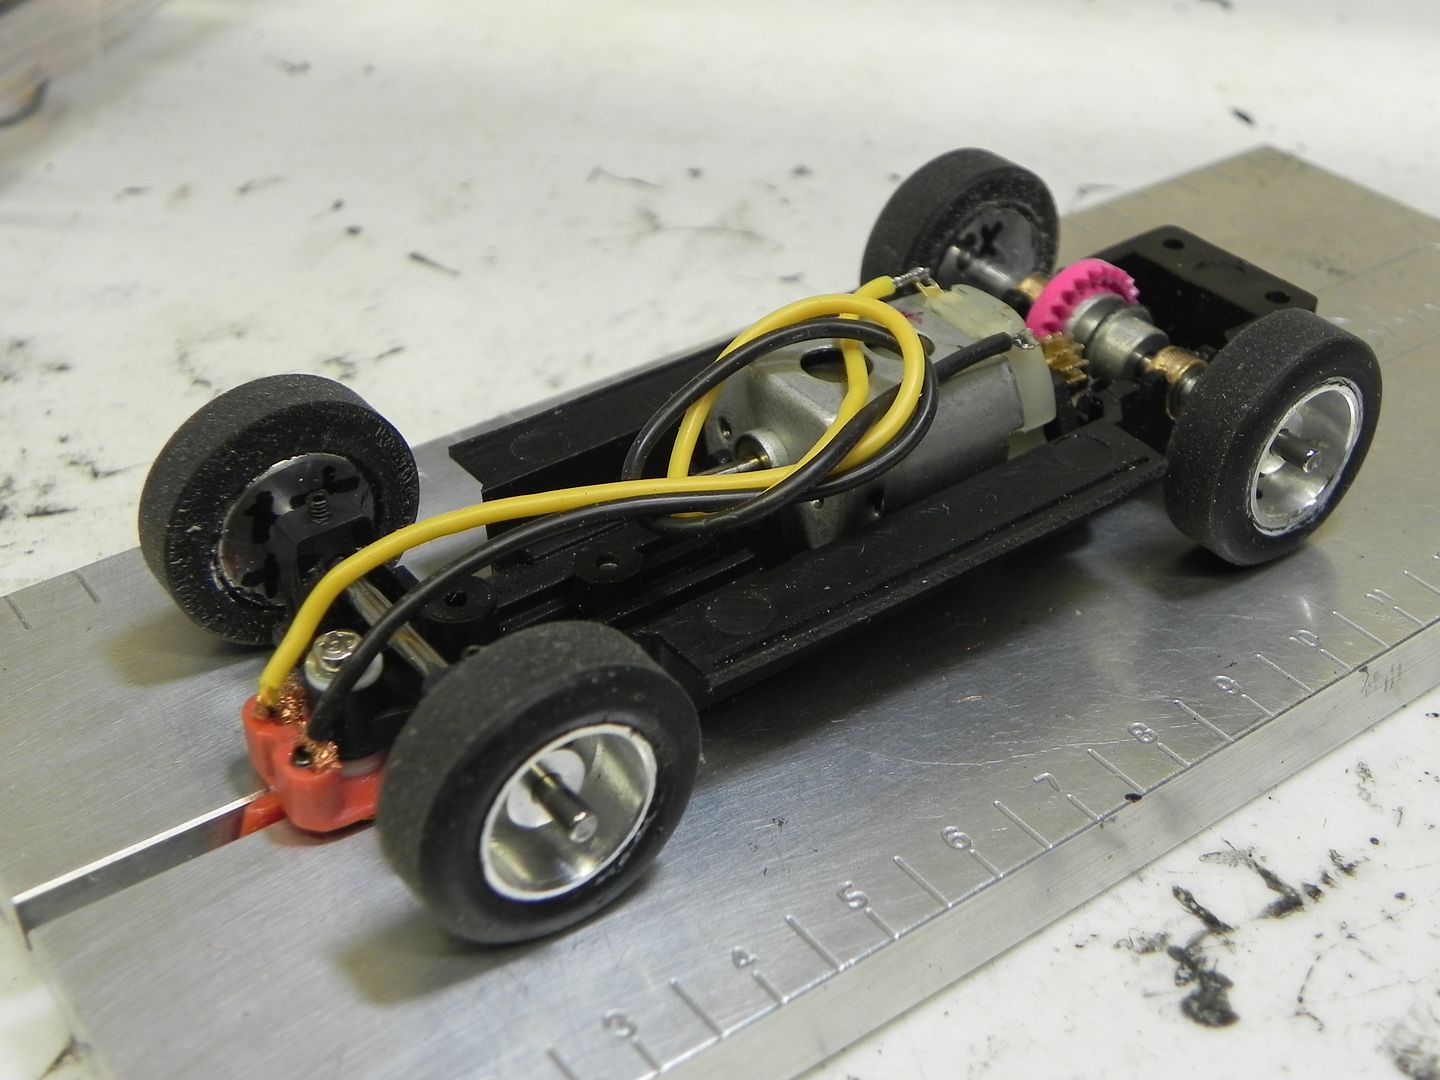
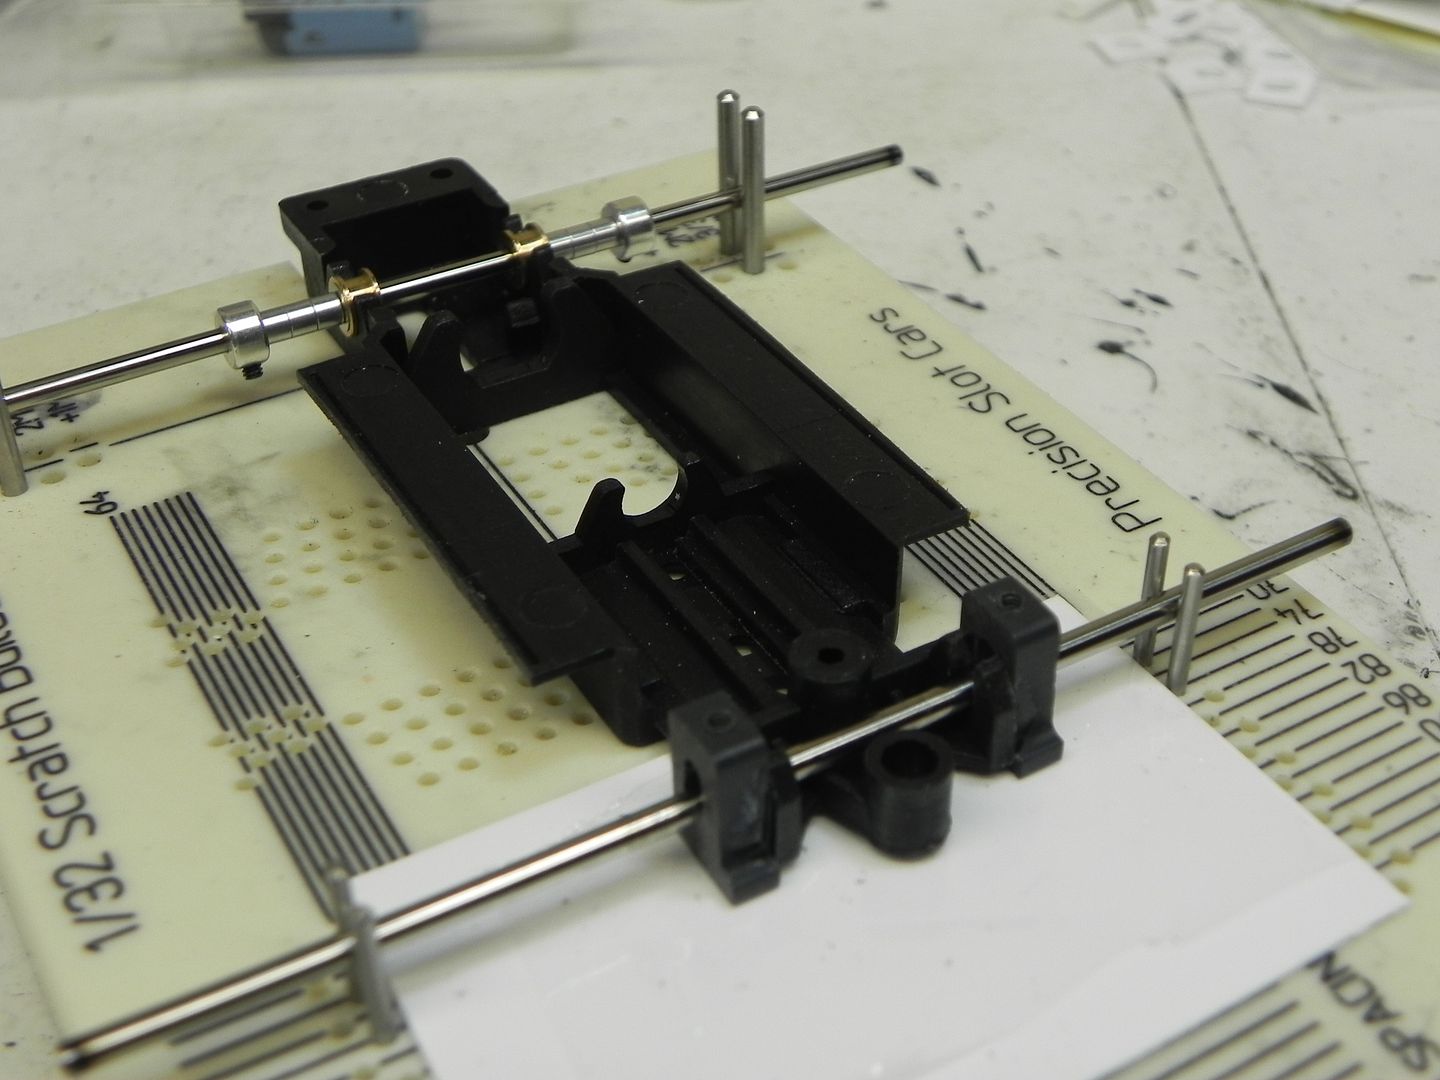
I was planning to put a Slot.It HRS2 chassis under the car, but there wasn't enough width to do it without a big chance of binding the tires on the wheel wells. So, I went a different way; one that I haven't tried yet, a PCS chassis. The first thing I wanted from this chassis, that doesn't come stock on it, was front axle adjustability. So, since the PCS chassis has the front axle mounts outboard, I used them as anchor points to add some cut-down SCC front axle blocks. It gives a good amount of surface area for the glue (Loctite 380) which is good; probably more contact surface area that if you glued them to the chassis using the standard axle block feet. I used a 1.0mm plastic sheet so that the axle blocks would not be the lowest part of the chassis (I need 3/32" chassis clearance for this proxy) and a thin layer of cellophane to prevent potential glue problems.
 \
\
The result is a pretty strong unit.
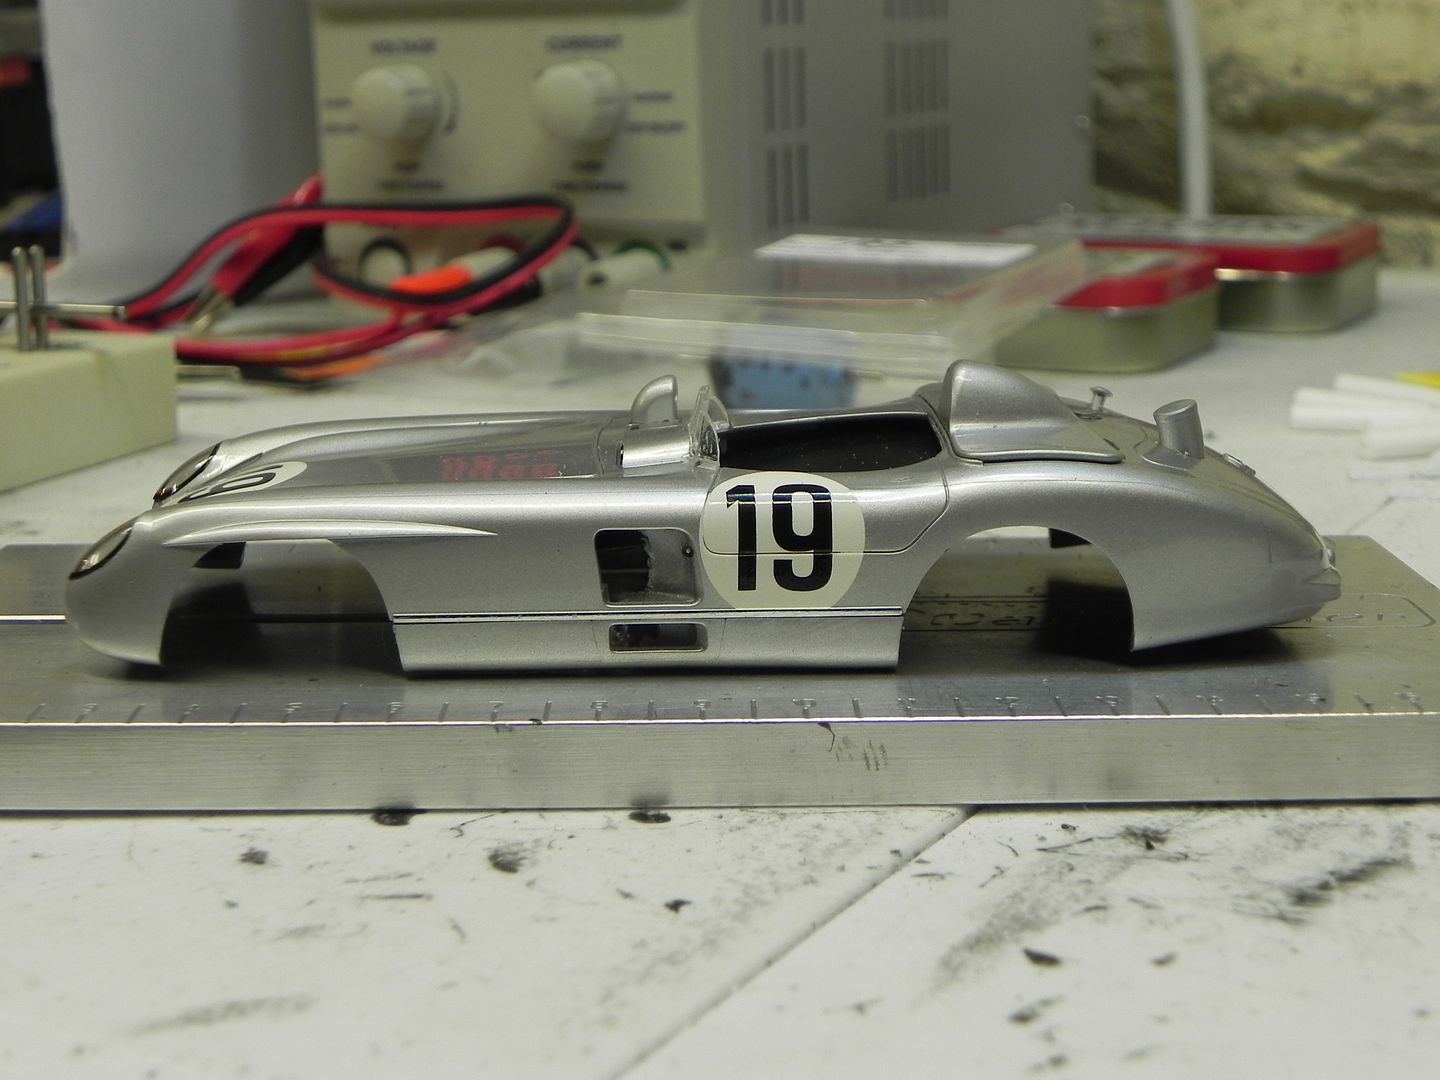
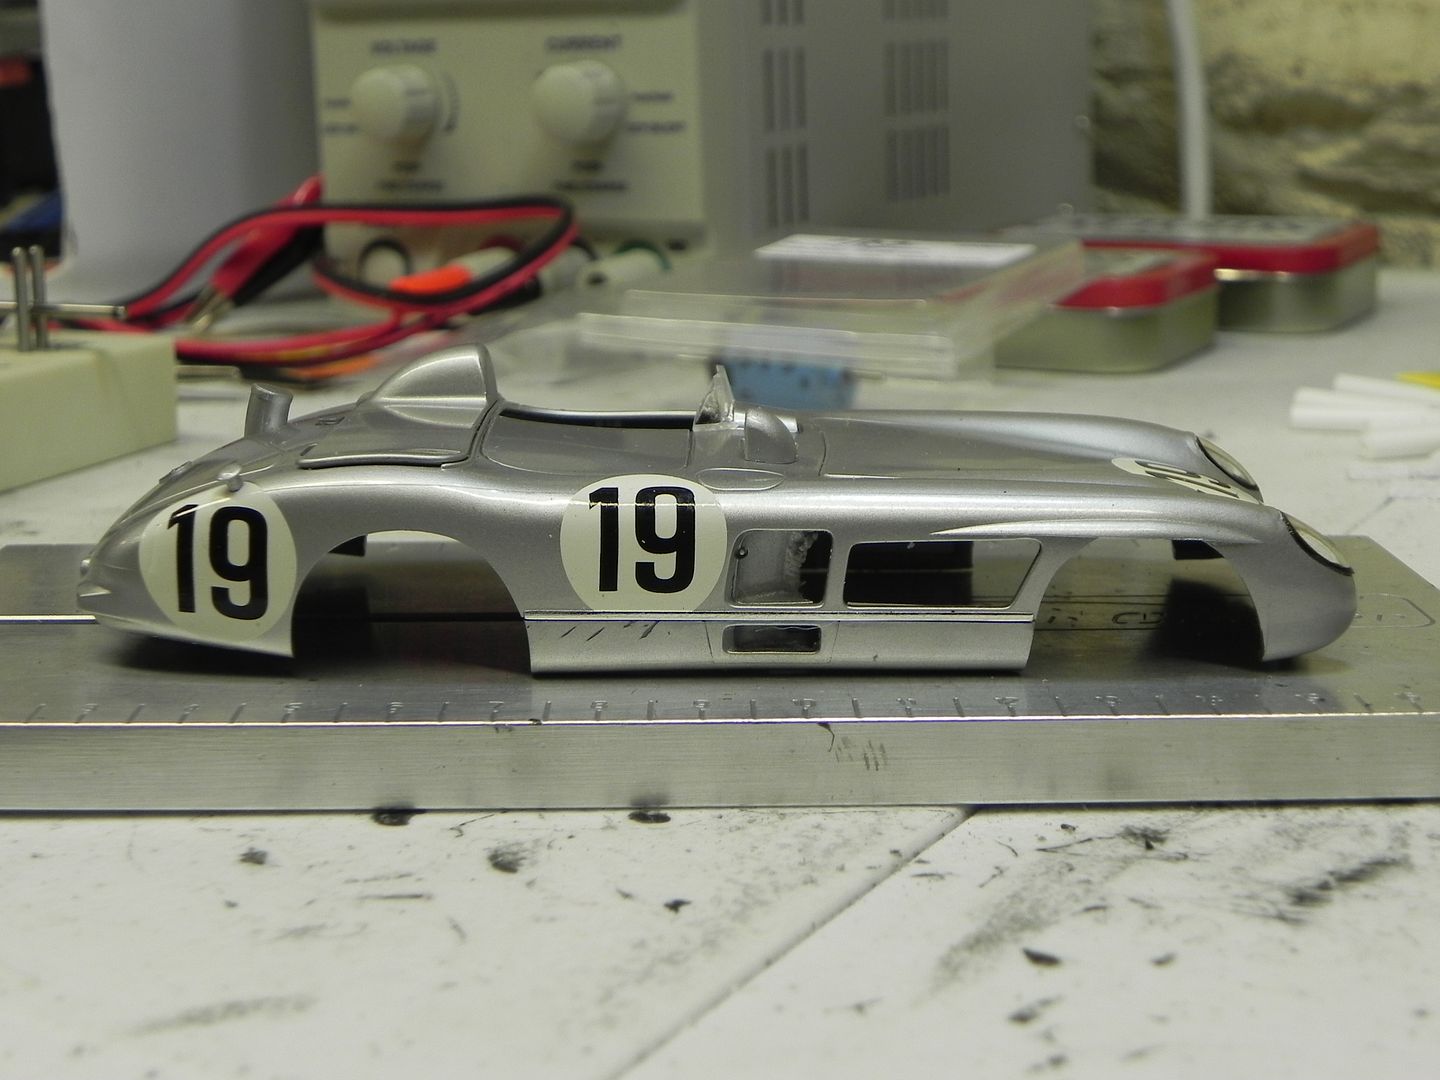
That's where I am now, next up is motor and gear testing. I'll post more as I go along................assuming that all goes well..................... :pray:
Allan
As with several of the Scaley cars in the classic line, this one has the rocker panels attached to the chassis, instead of on body. Since I was concerned about being able to get reasonable body float with this structure, I decided to migrate them off the chassis and onto the body. Here's a picture of the chassis with the rockers cut off:
I screwed the body back onto the cut chassis and tack-glued the rockers on with thin CA, using tape to hold the rockers in place against the chassis. Then I backed the CA with my favorite plastic-to-anything glue (Loctite 389 - thank you, Chris Walker (chrisguyw)!). Then I mixed up some 30 minute epoxy and used that in conjunction with 1.0mm plastic strips, to strengthen the rocker joints:
After setting up for 24 hours, the result was pretty strong and the look was OK:
I was planning to put a Slot.It HRS2 chassis under the car, but there wasn't enough width to do it without a big chance of binding the tires on the wheel wells. So, I went a different way; one that I haven't tried yet, a PCS chassis. The first thing I wanted from this chassis, that doesn't come stock on it, was front axle adjustability. So, since the PCS chassis has the front axle mounts outboard, I used them as anchor points to add some cut-down SCC front axle blocks. It gives a good amount of surface area for the glue (Loctite 380) which is good; probably more contact surface area that if you glued them to the chassis using the standard axle block feet. I used a 1.0mm plastic sheet so that the axle blocks would not be the lowest part of the chassis (I need 3/32" chassis clearance for this proxy) and a thin layer of cellophane to prevent potential glue problems.
\The result is a pretty strong unit.
That's where I am now, next up is motor and gear testing. I'll post more as I go along................assuming that all goes well..................... :pray:
Allan