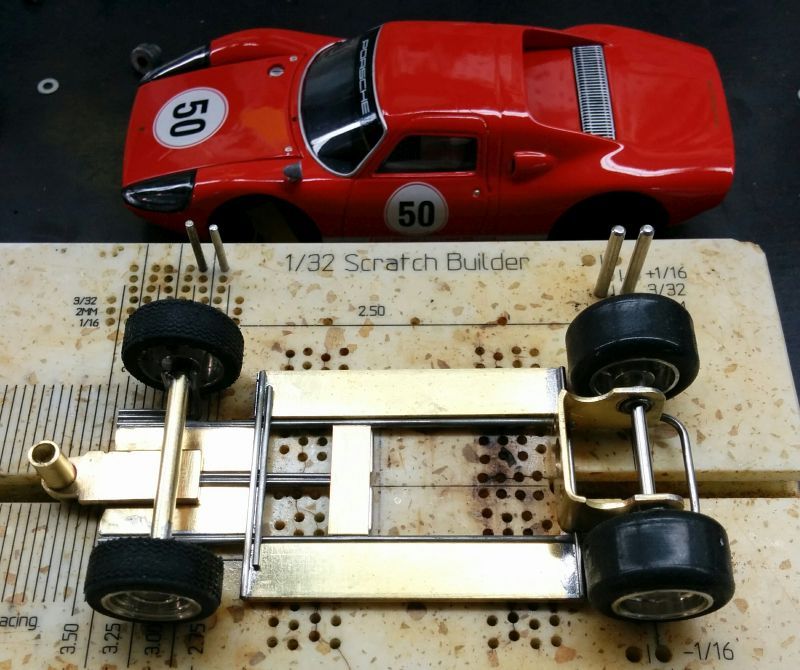
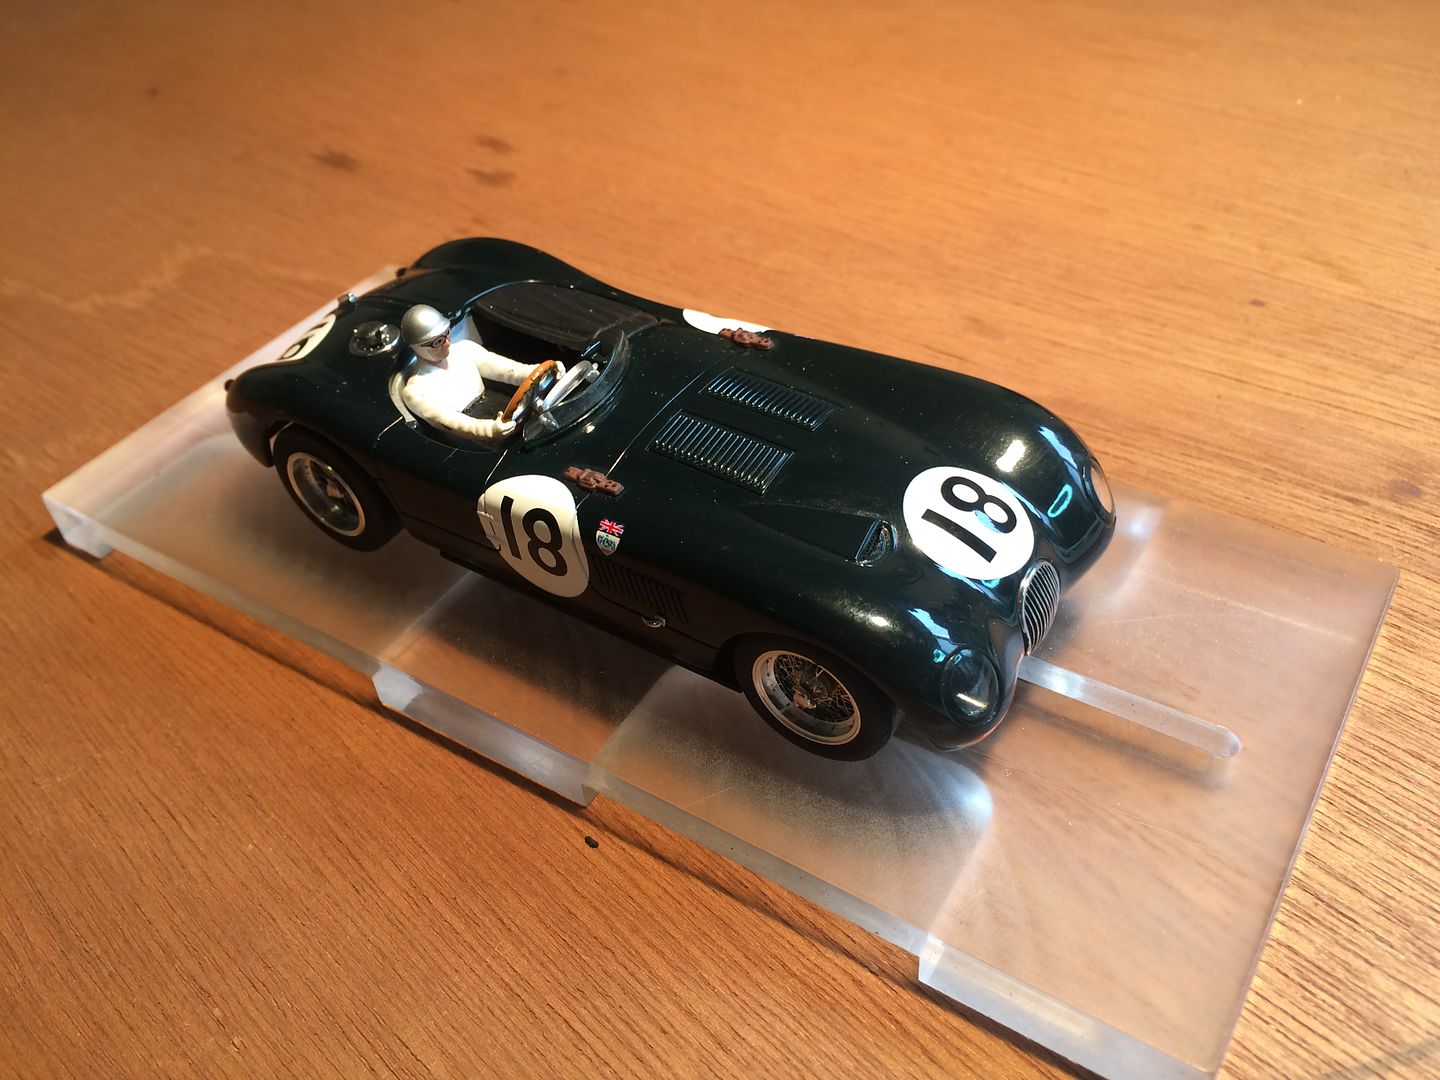
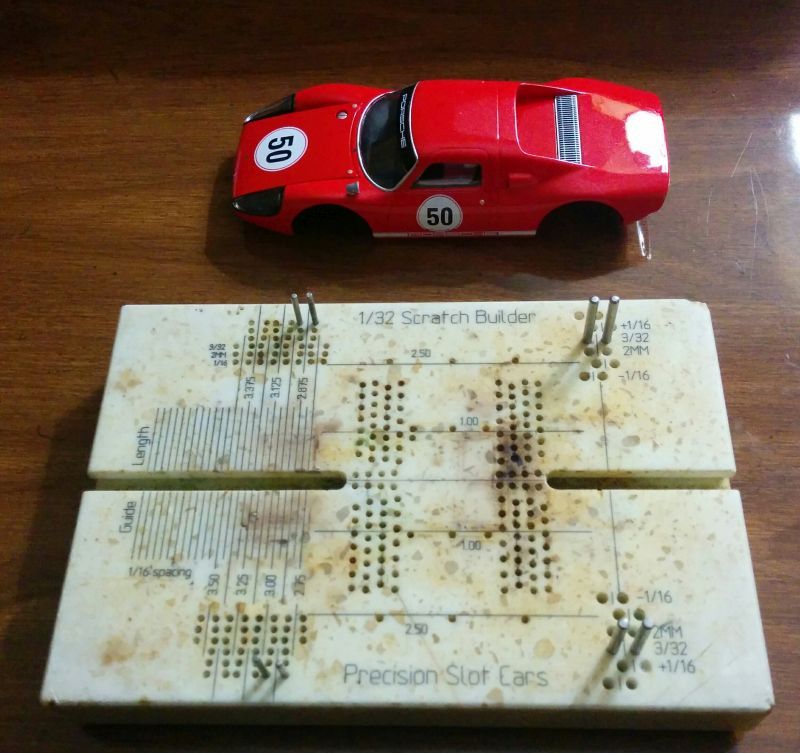
Tony Palmer (BrumosRSR) asked me to build a brass frame to fit under a Carrerra Porsche 904 body, so this will be the subject of the thread.
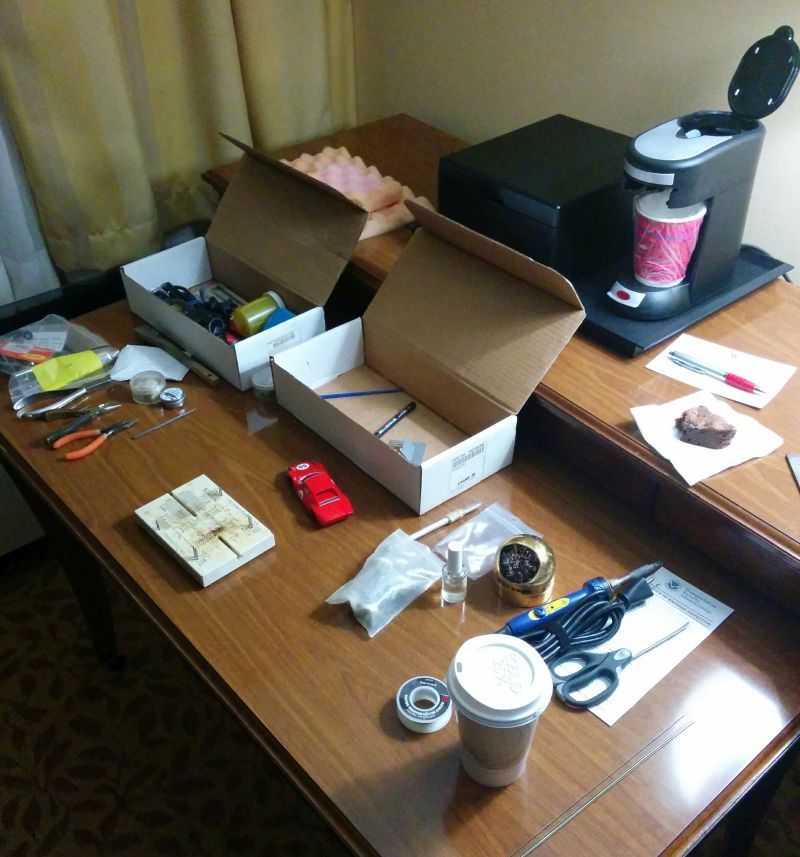
I started work on this project Saturday in my garage, but most of the work will be done in my hotel room as I am travelling on business at present. I will take some photos of my mobile workshop tonight!
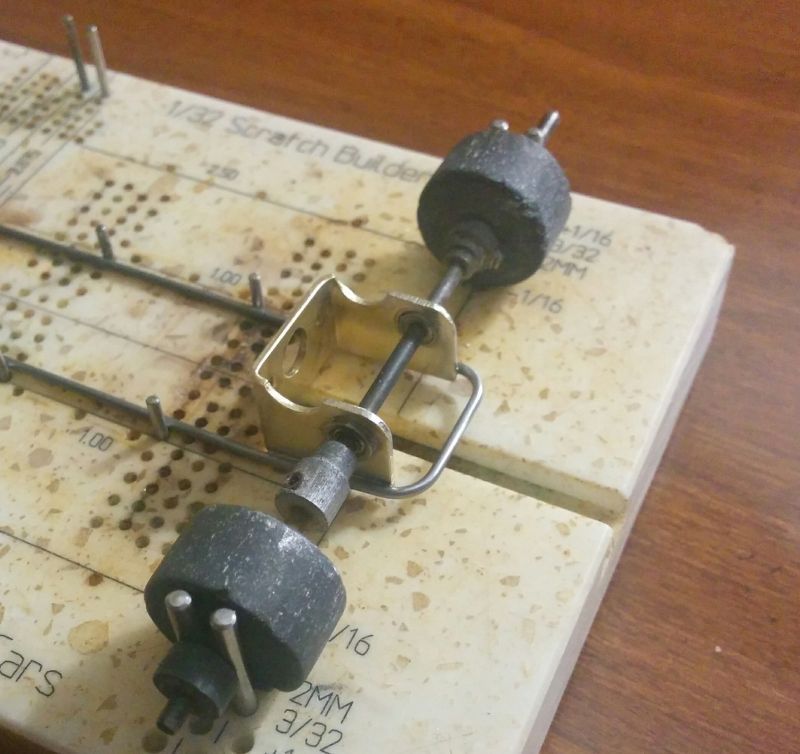
Tony sent me a bunch of parts:
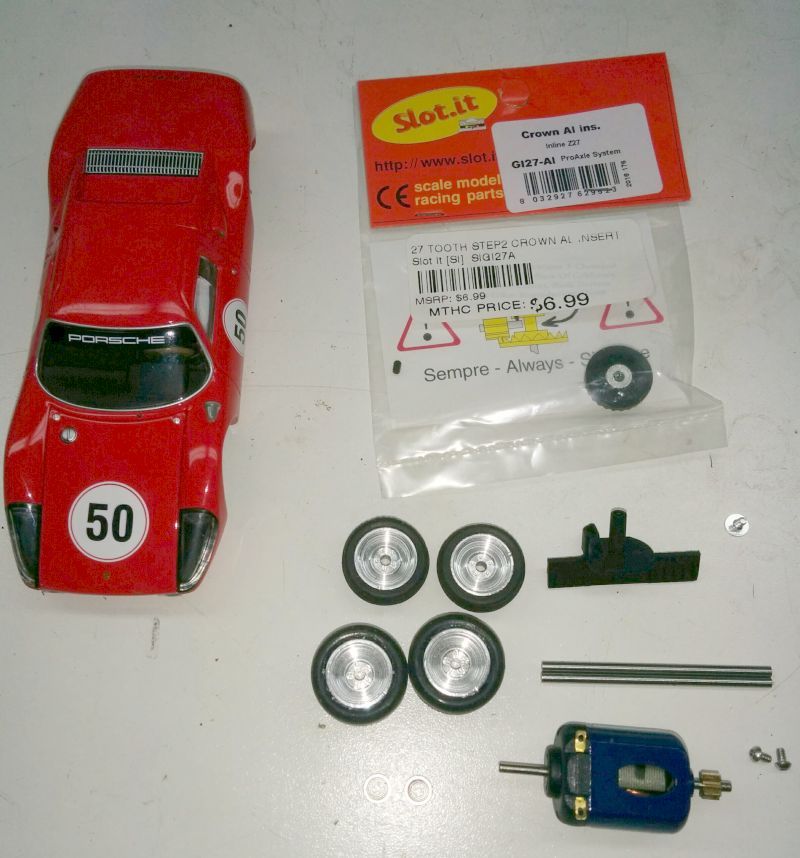
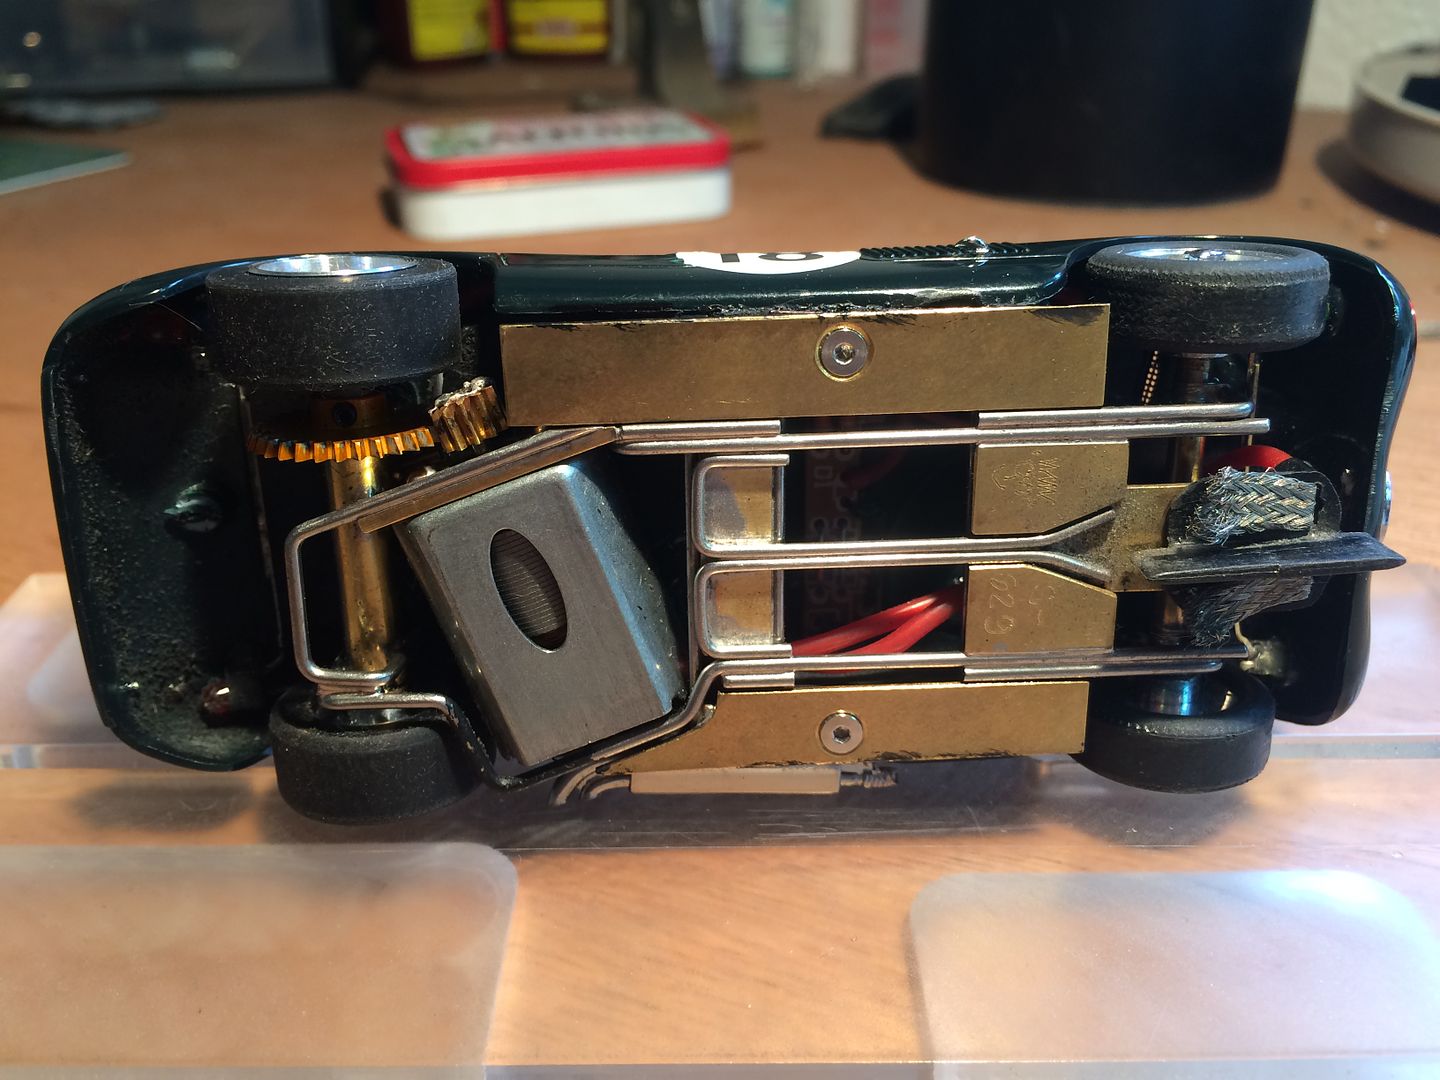
The CBD Steelies will suit the car very well, but the width of the rear tires combined with the narrowness of the body restricts the frame to an inline.
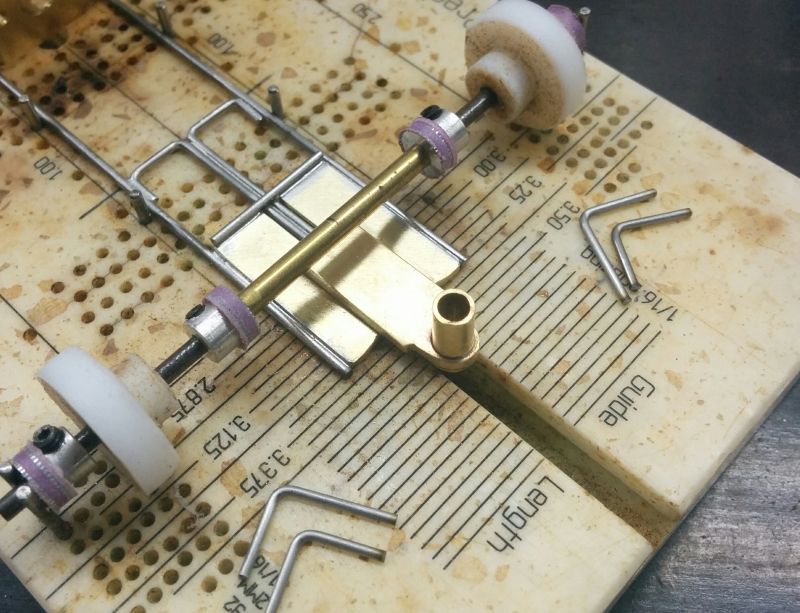
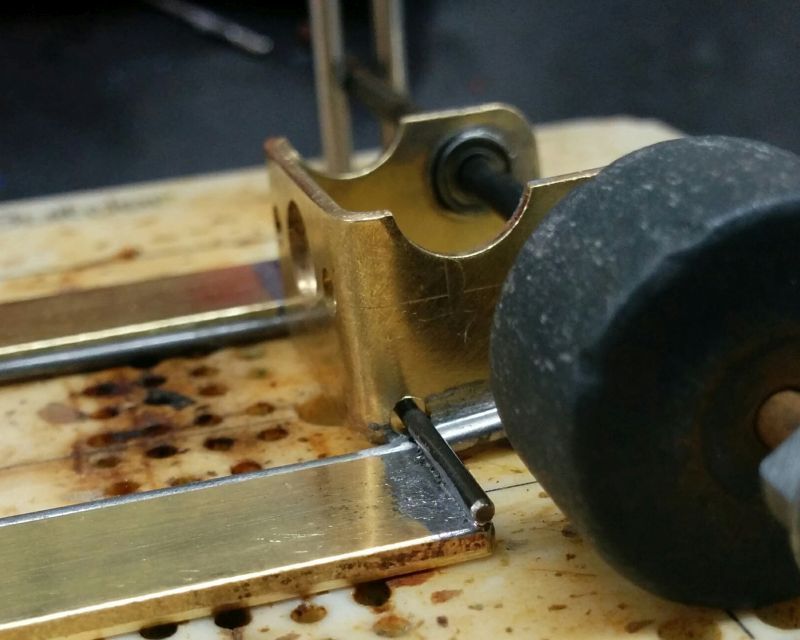
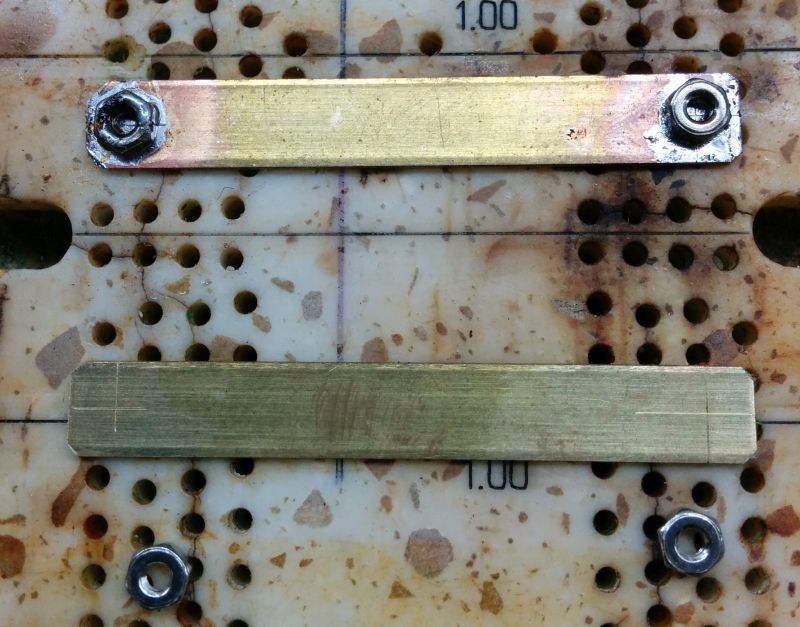
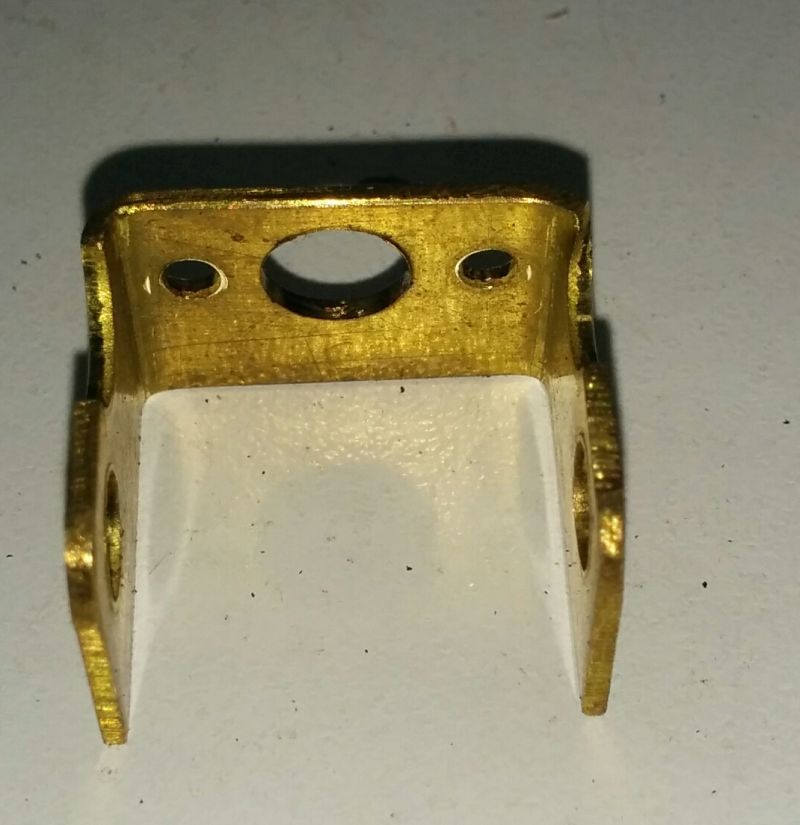
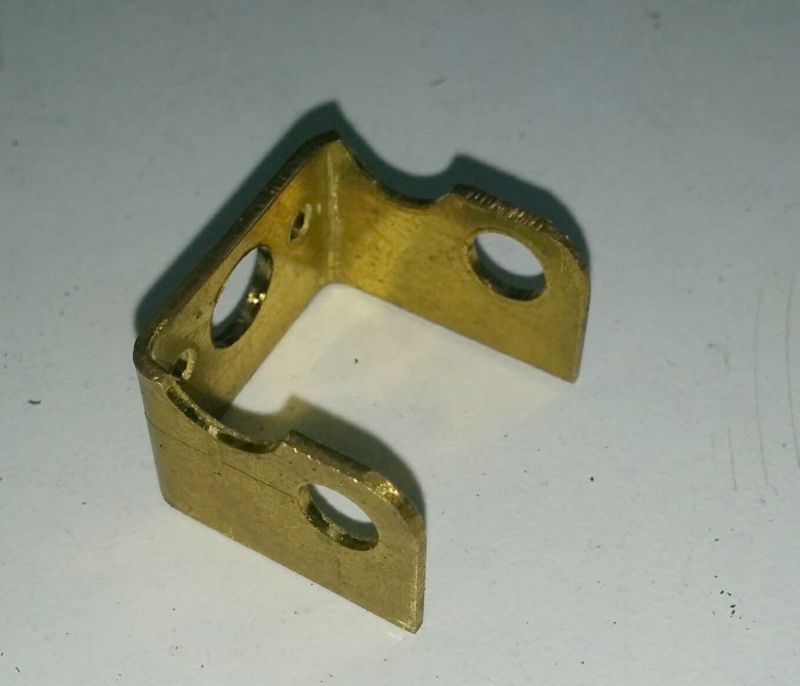
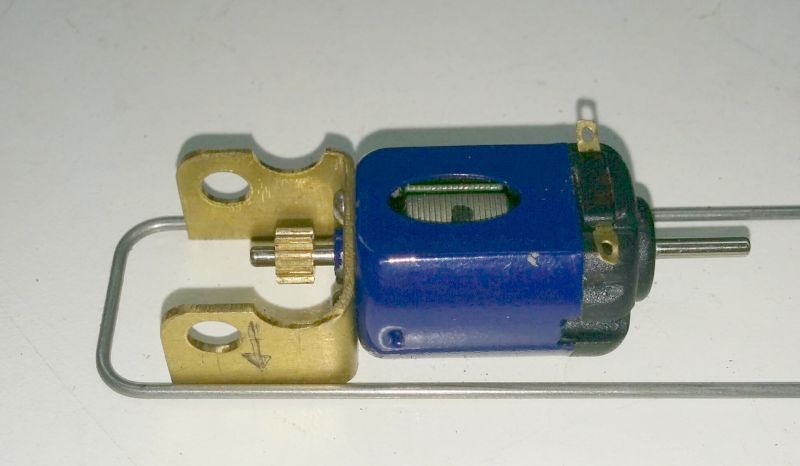
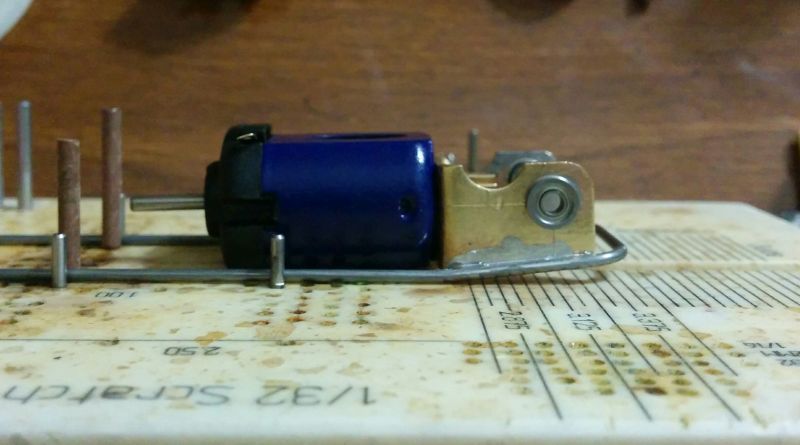
So, that being said, I made up a motor bracket. I make a lot of these for the 1/24 scale retro racing frames I build, so I have the process pretty well nailed by now. I will document that in a separate thread at some point. The bracket is 3/4" wide and the rear axle bearings will fit directly in the bracket's 3/16 holes, no axle tubes on this one.
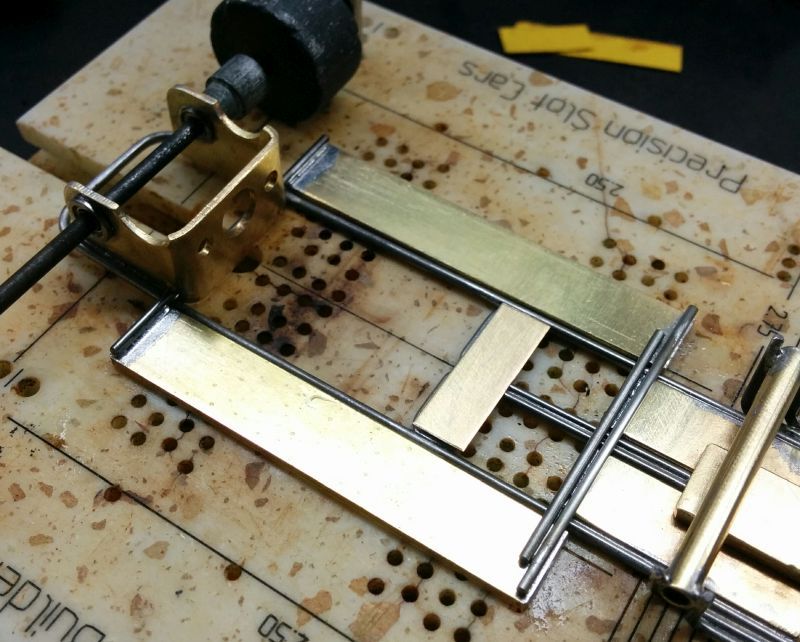
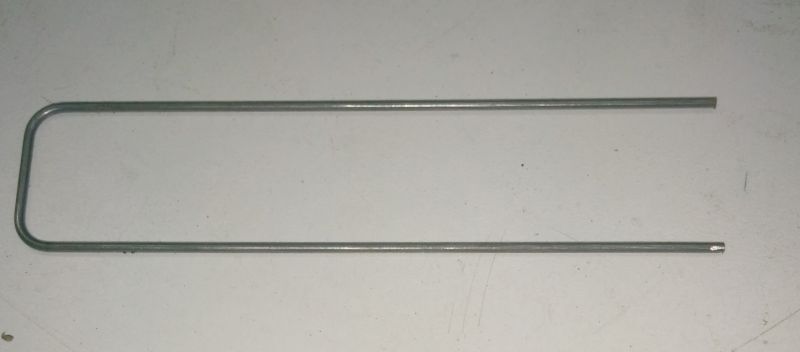
Then I made up a main rail for the frame. I normally use piano wire for this, and in a small car like this, on rubber tires, I settled for a single rail of .055 diameter wire each side. The trick here is to combine the rails with a brace for the motor bracket, by bending the two rails all in one piece. For this I use a simple K&S wire bender, held in a bench vise. I mark a spot on the wire to give the length of one side of the rail, leaving some extra that can be trimmed off later, then clamp the wire in the bender:
Using the lever of the bender, bend the first 90-degree bend:
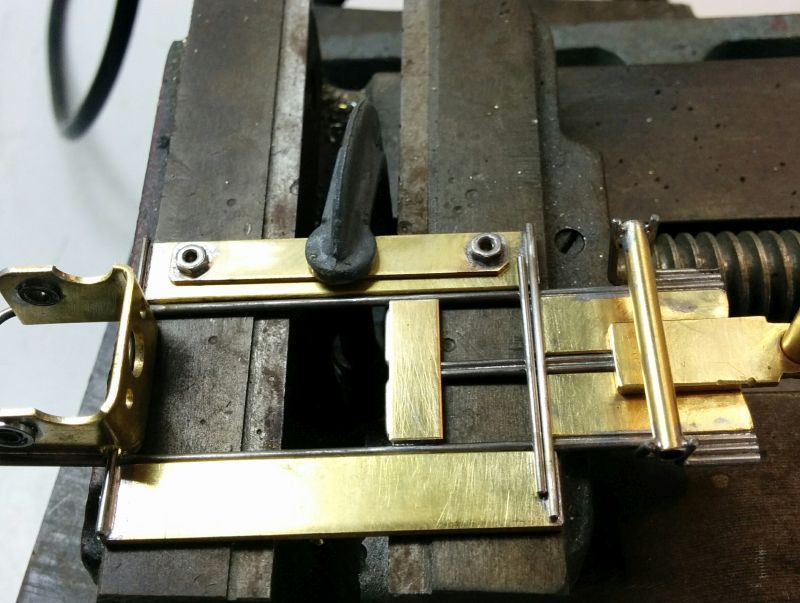
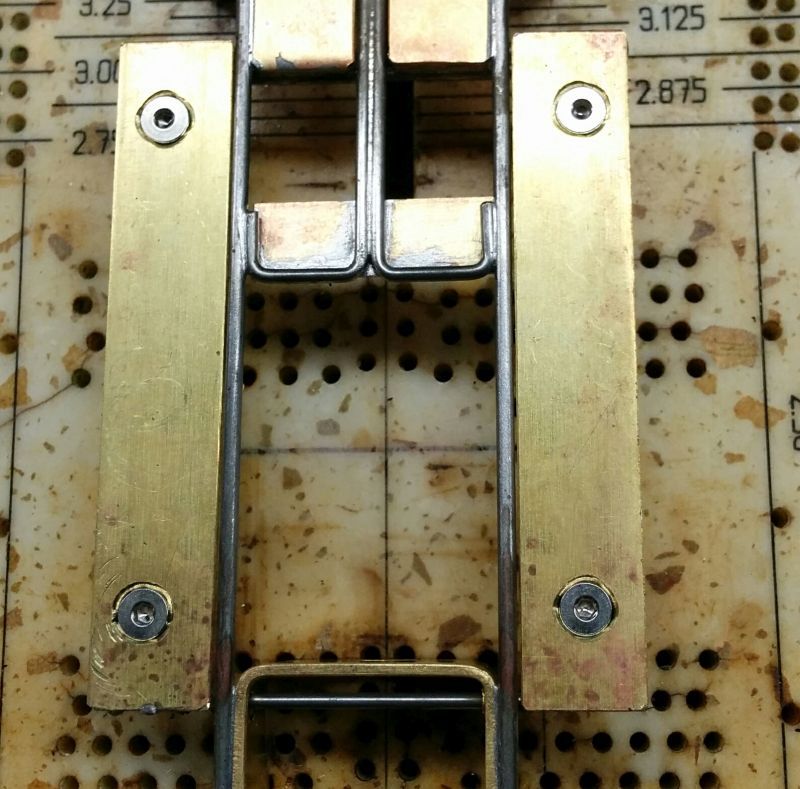
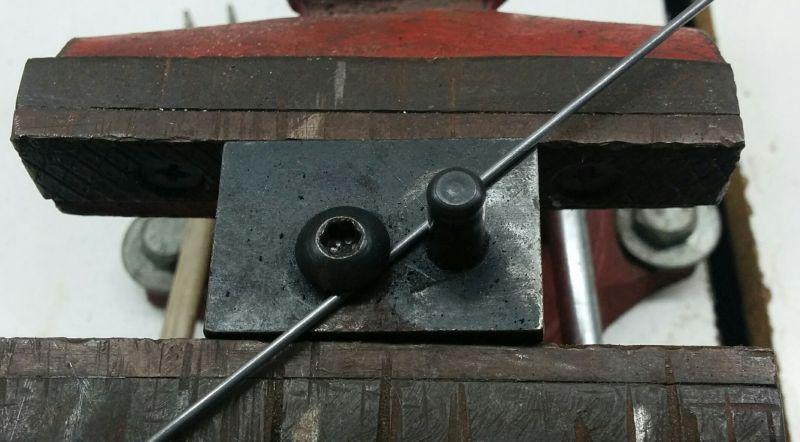
This is where things get tricky, to make sure the second bend is where it needs to be to fit around the outside of the bracket. I measure the bracket width:
Then, I close down the caliper by half of the wire thickness, to allow for the spring-back of the wire when bending. This setting is then transferred to the wire while it is in the bender and clamped again:
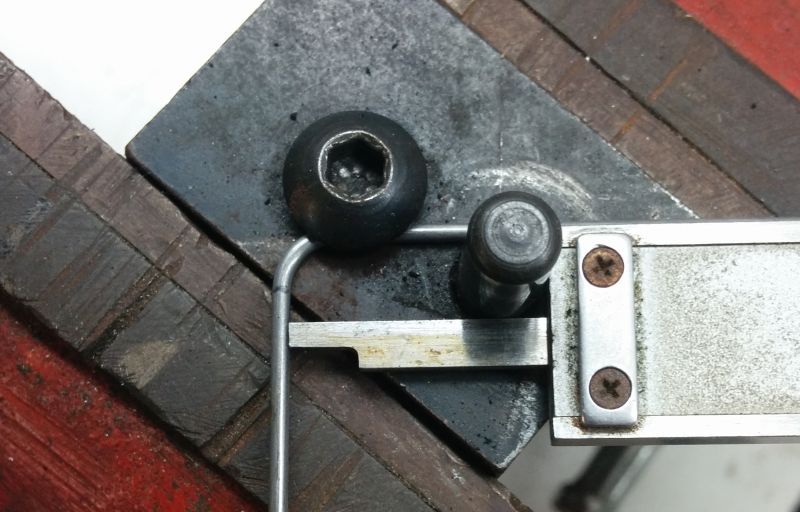
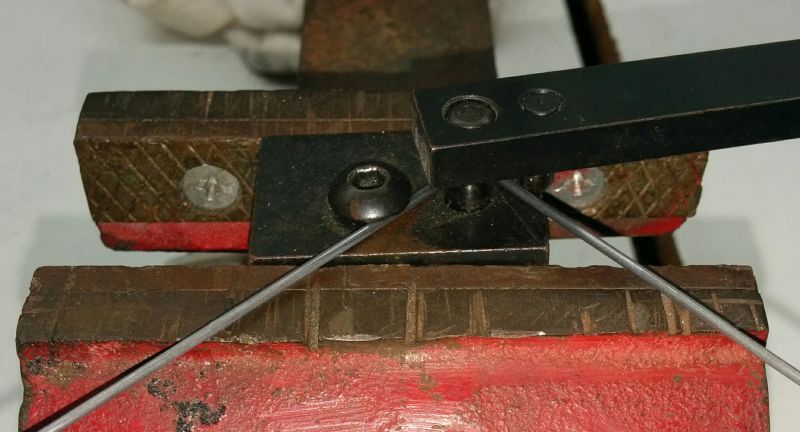
Then I make the second 90-degree bend:
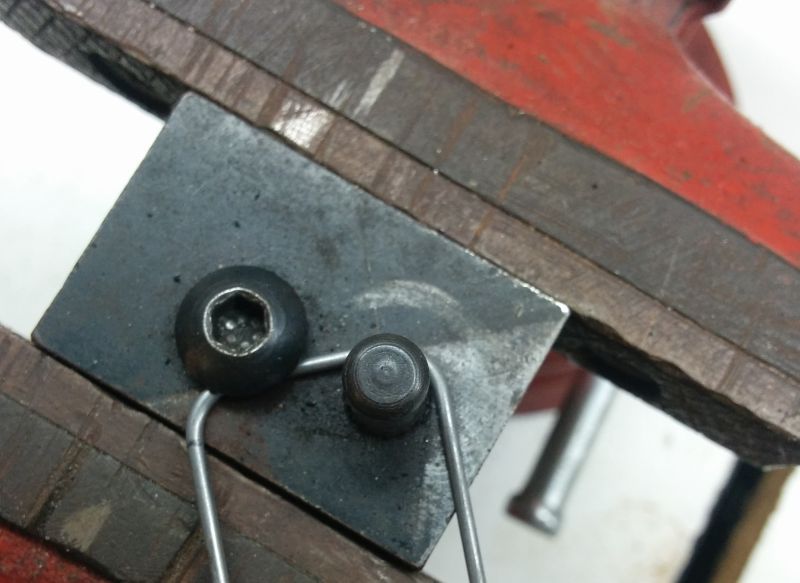
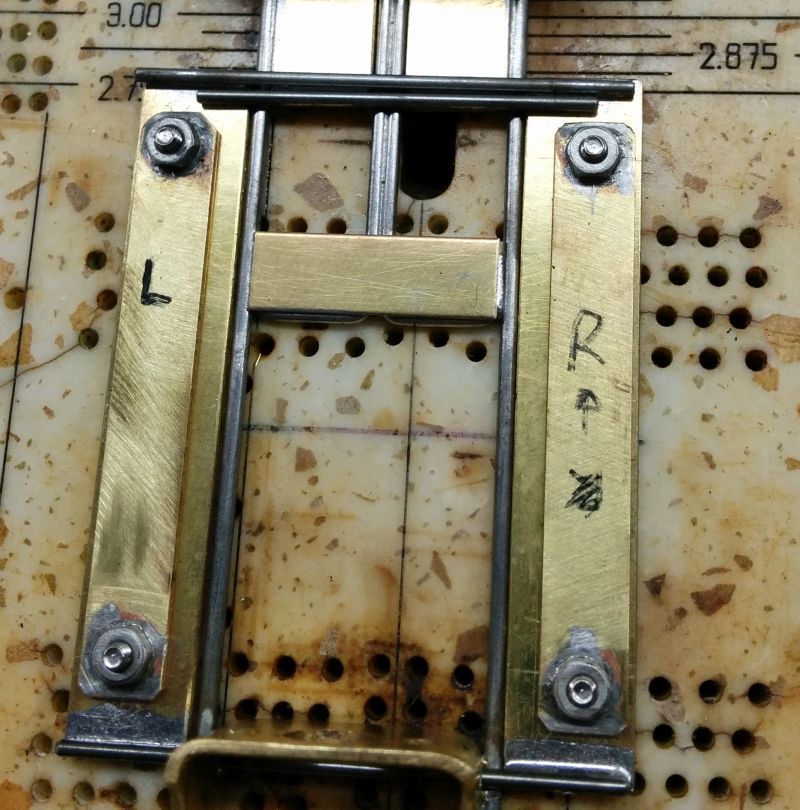
With a little tweaking to get the two legs parallel and flat, and cut to the same length, the final rail looks like this:
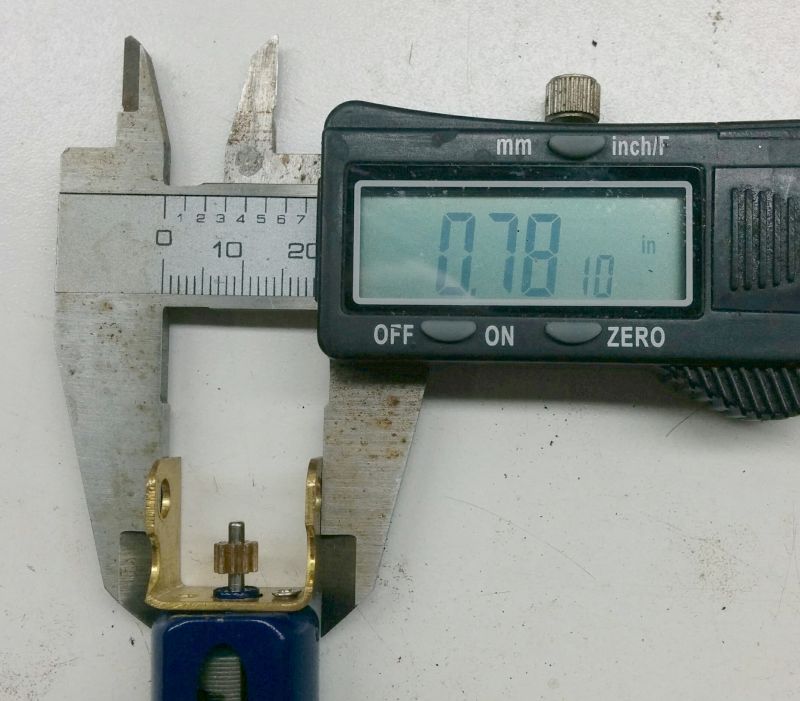
And with a little more tweaking it should fit nicely around the outside of the bracket:
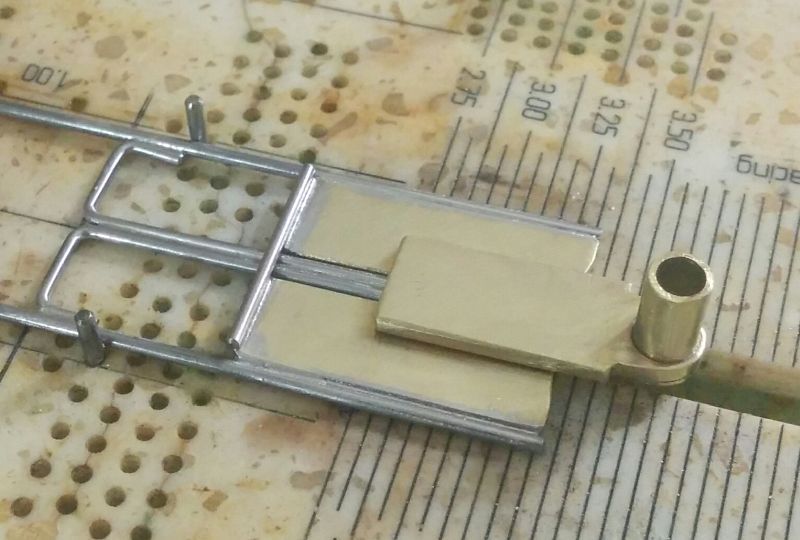
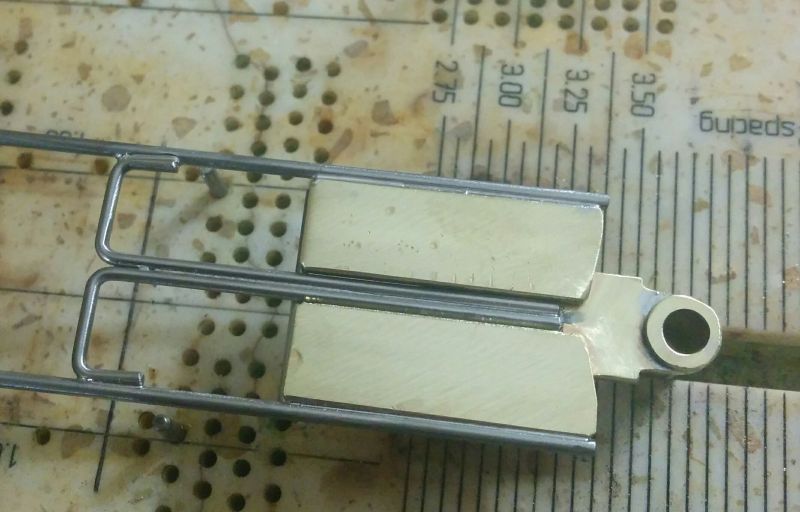
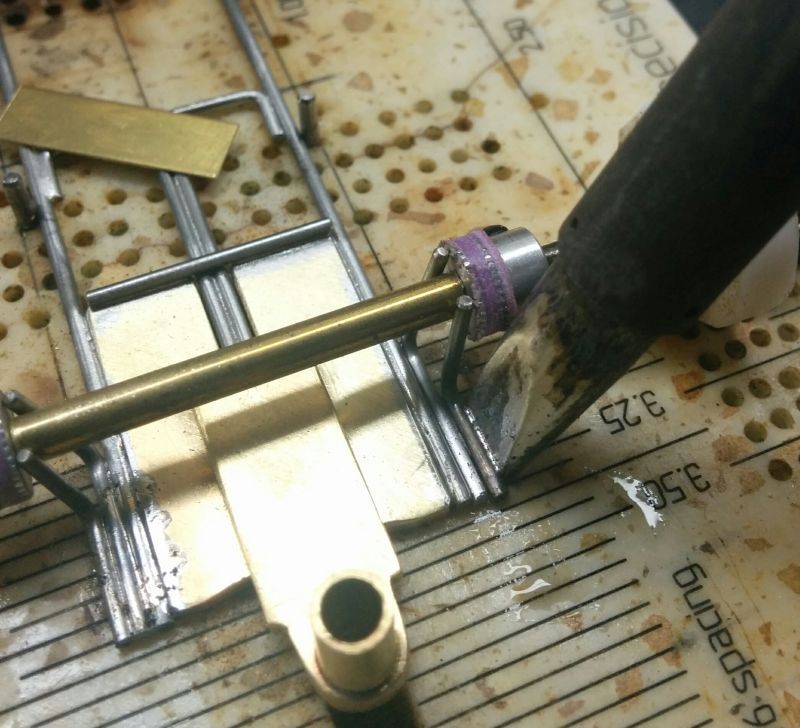
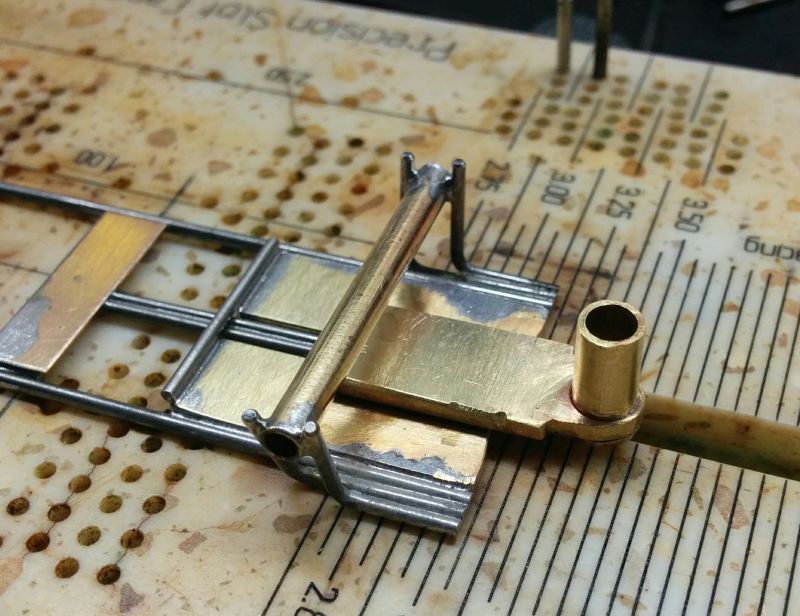
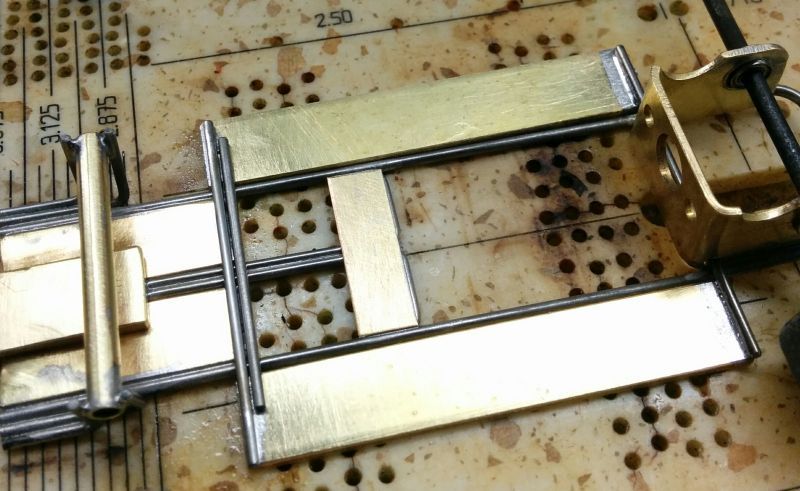
The next step for me was to cut some brass to make pans and the front end. I cut pieces of .062" thick brass and some 3/32" ID tubing, and will do the final cutting and filing as I start the soldering process tonight. Right now, I have all this ready to go:
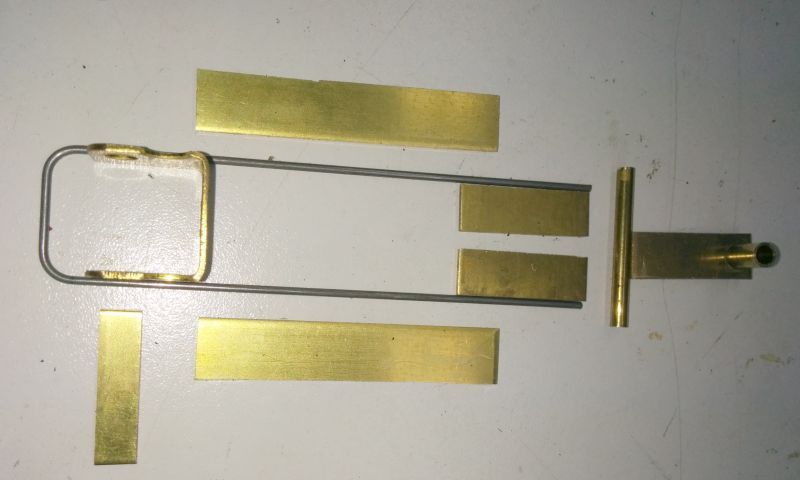
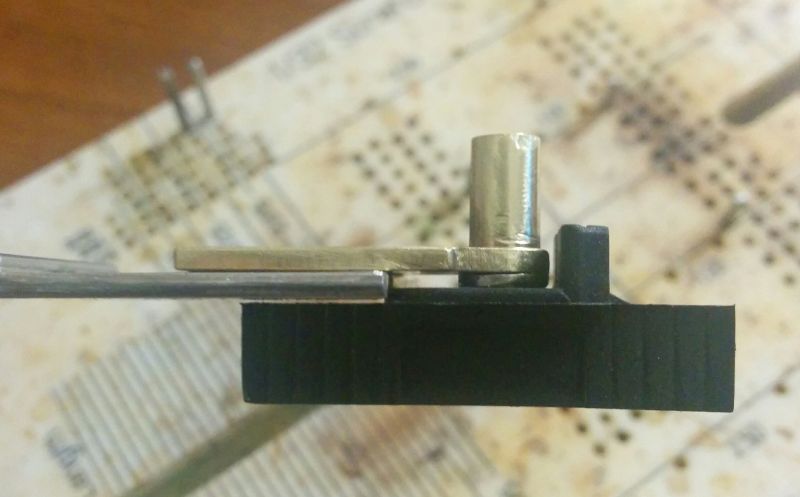
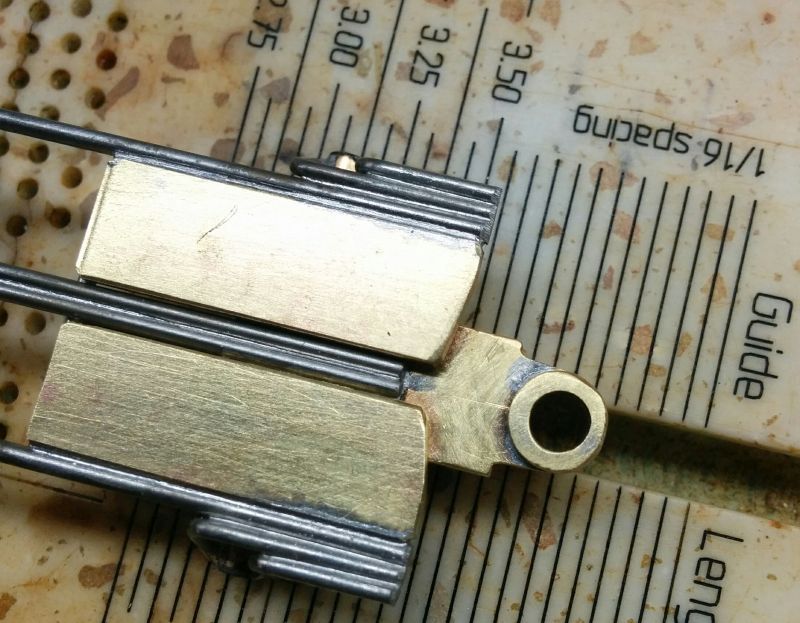
I forgot to take detail photos of the guide mounting system, so more of those tomorrow. I will be using a special guide mounting tube that I plan to have made in quantity and sell to anyone interested:
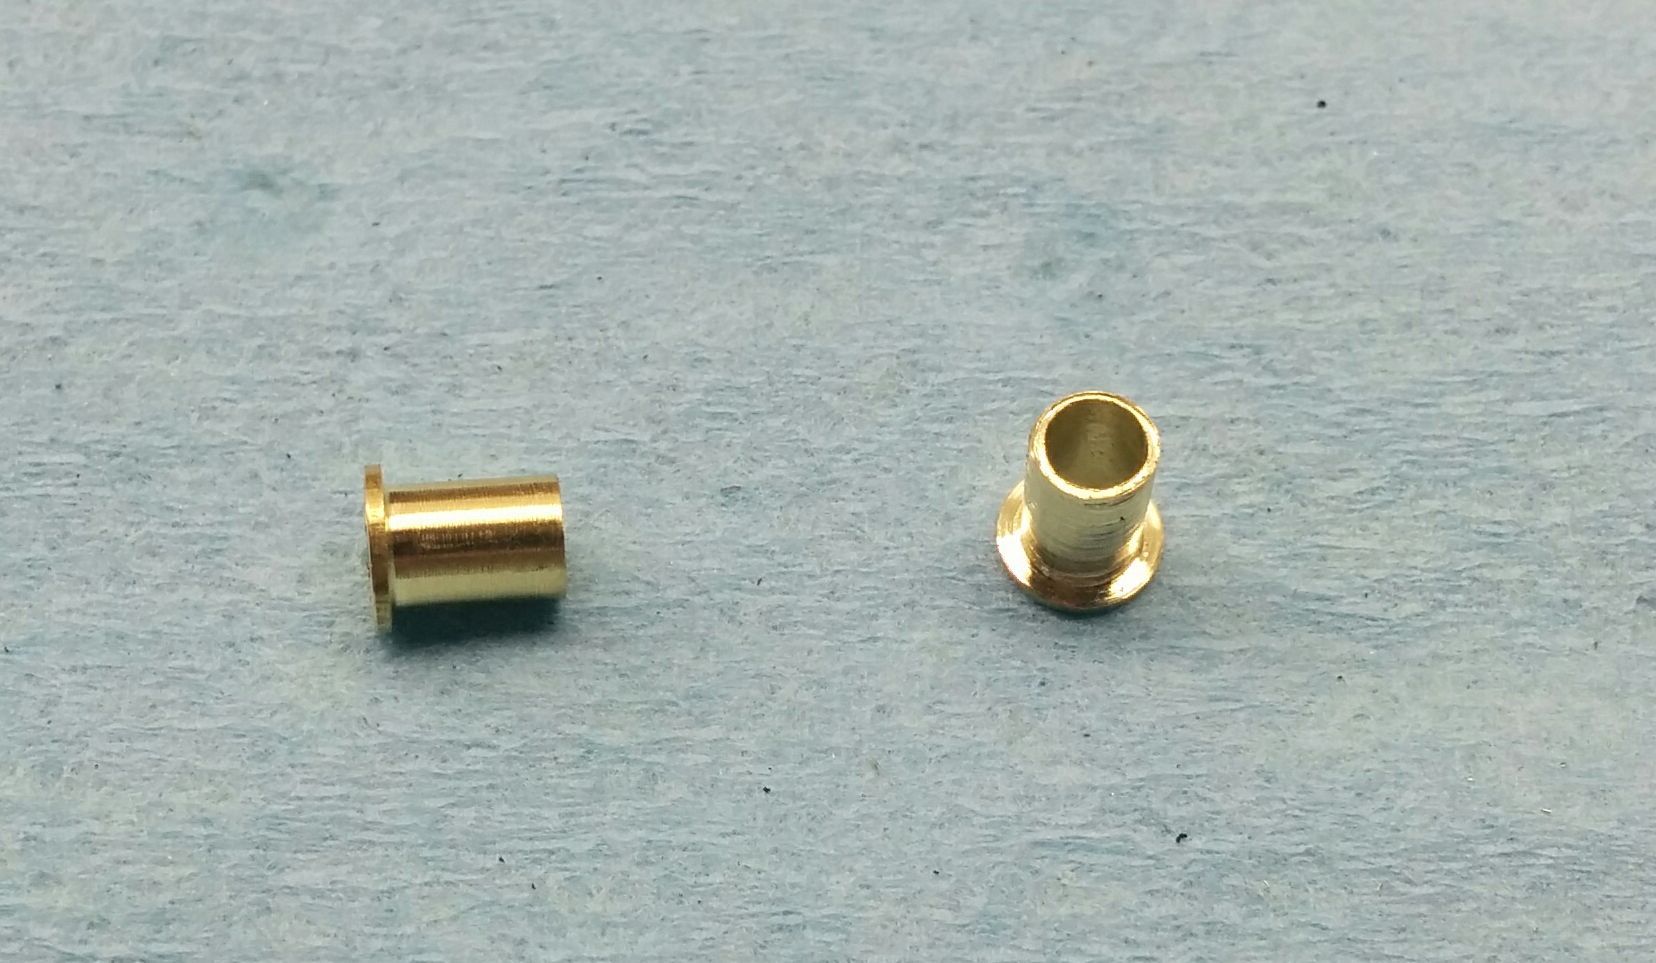
They will be available with different size holes for the various aftermarket guides that are available, notably the ScaleAuto (2 sizes), Sloting Plus, TSRF, and Slot.it wood guides, and you will be able to specify exactly the size you want when ordering. But more of that in a separate thread.
Onward to the building phase tonight!
Dennis


(4).jpg)